dual rail - center mount stepper - prototype 2 - models and assembly

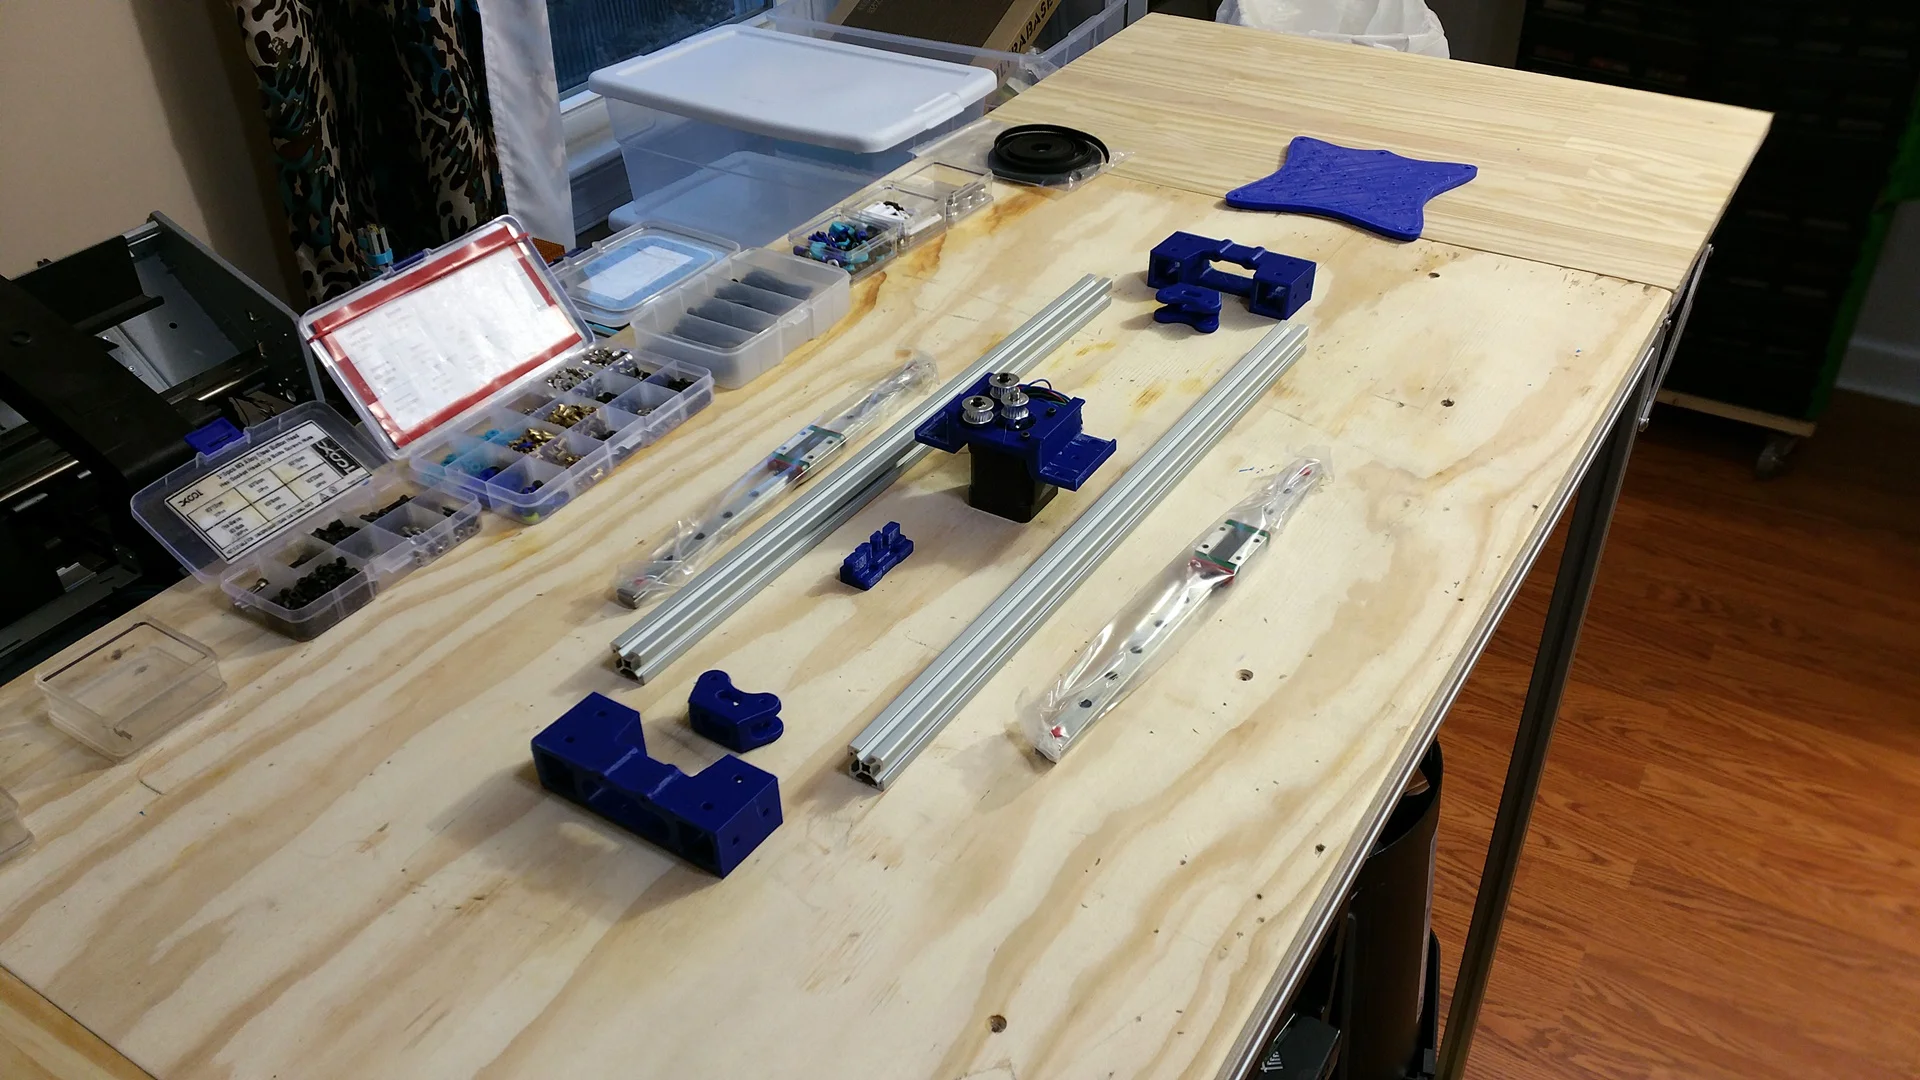
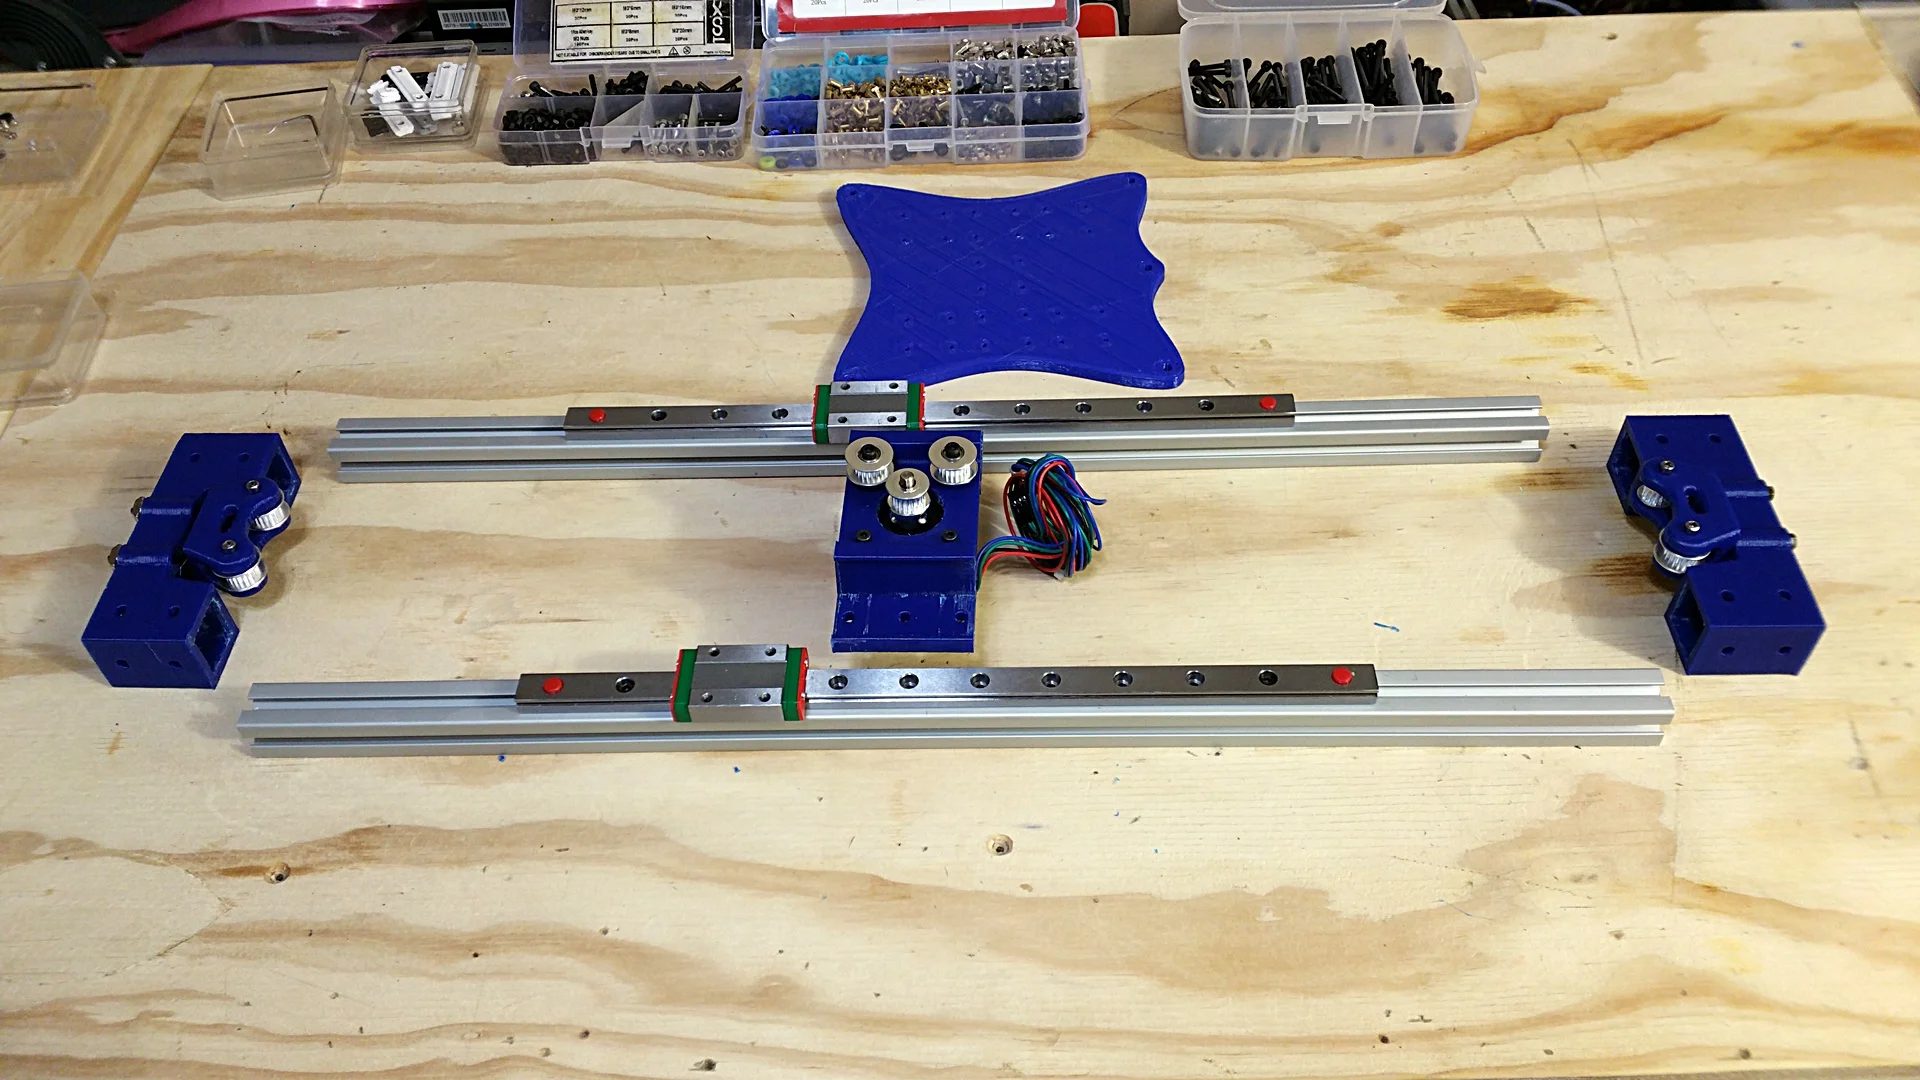
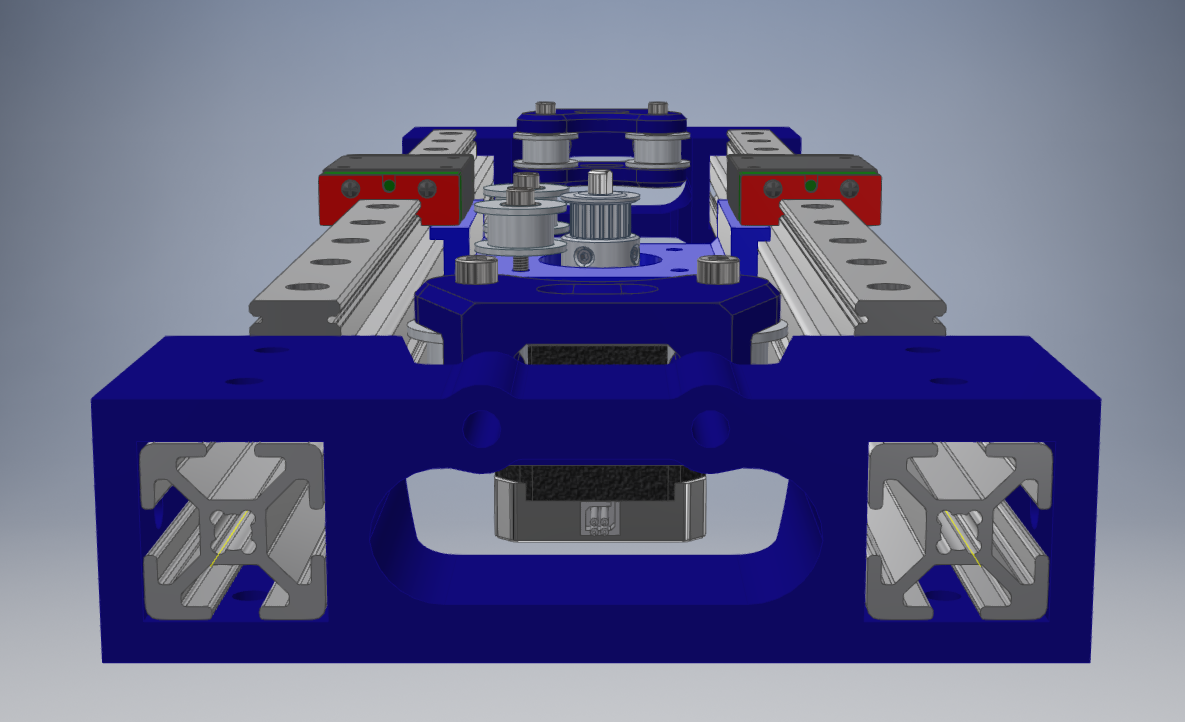
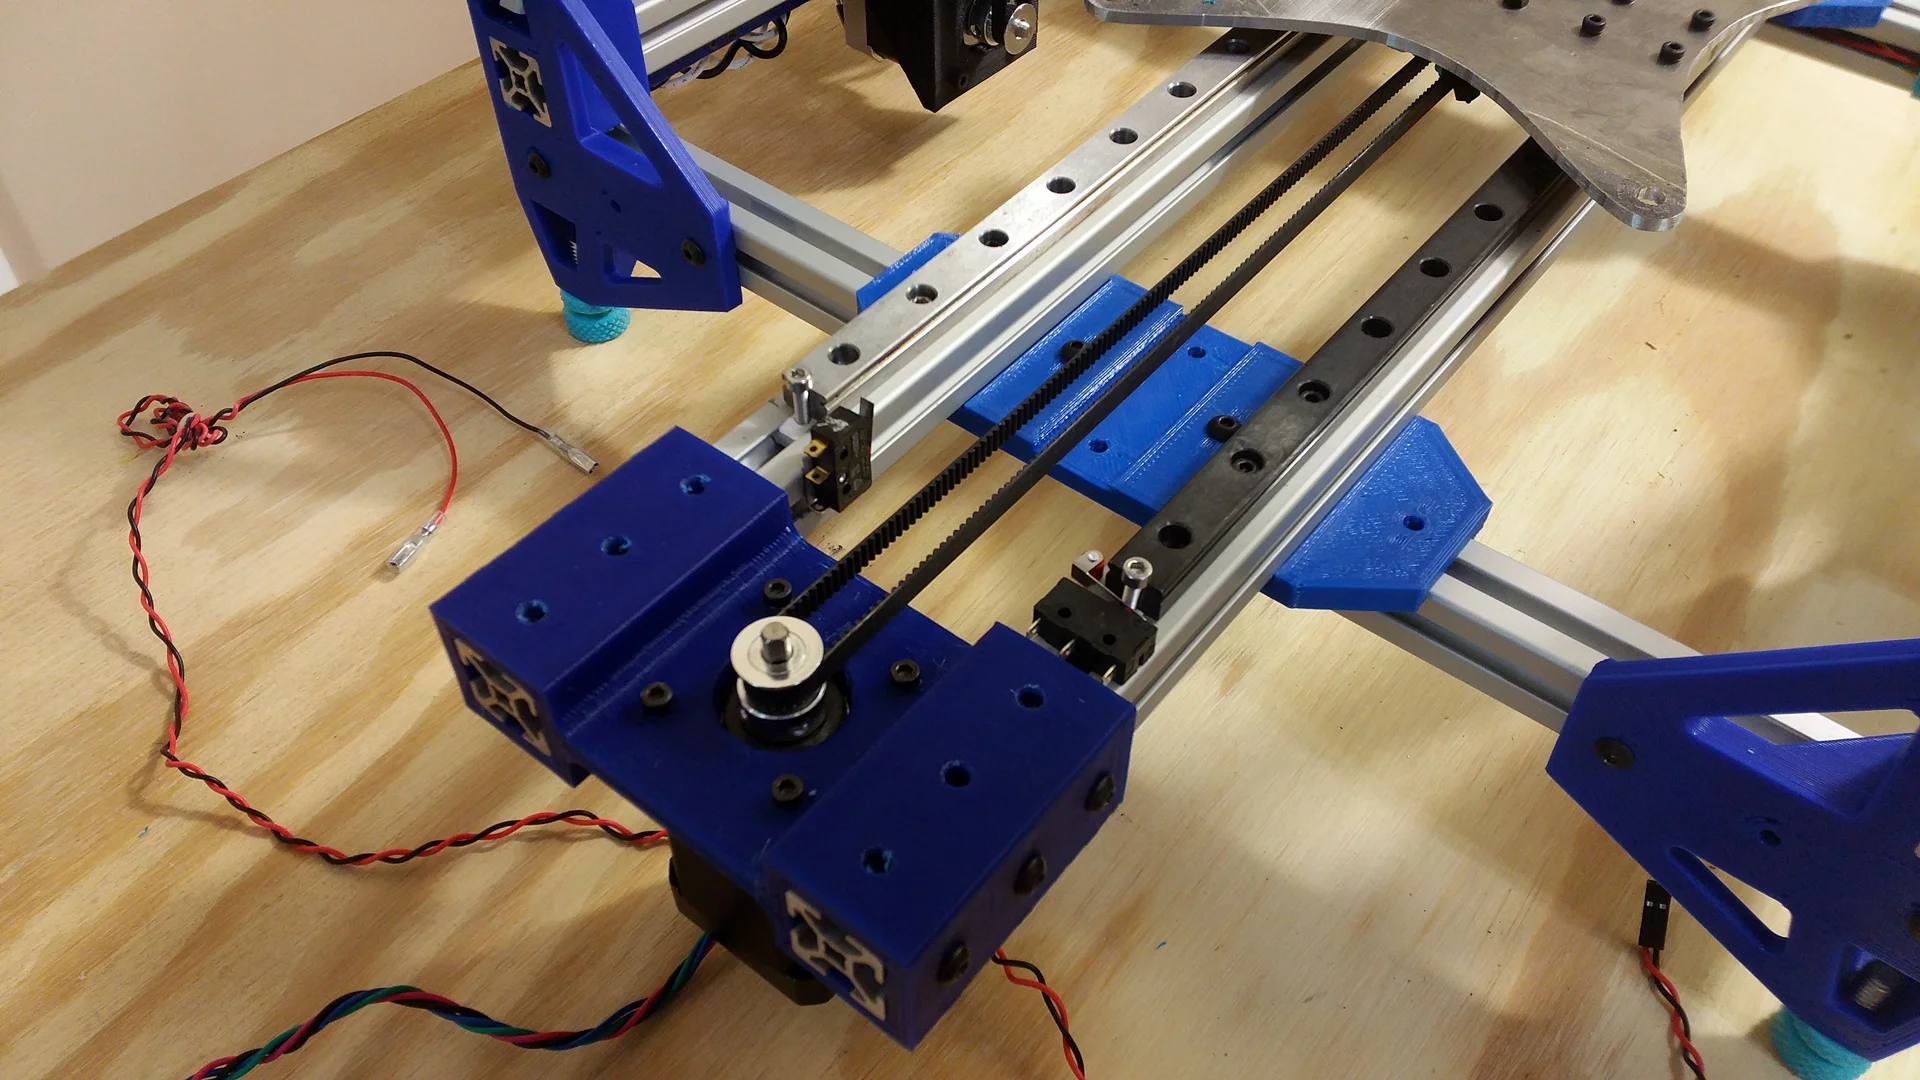
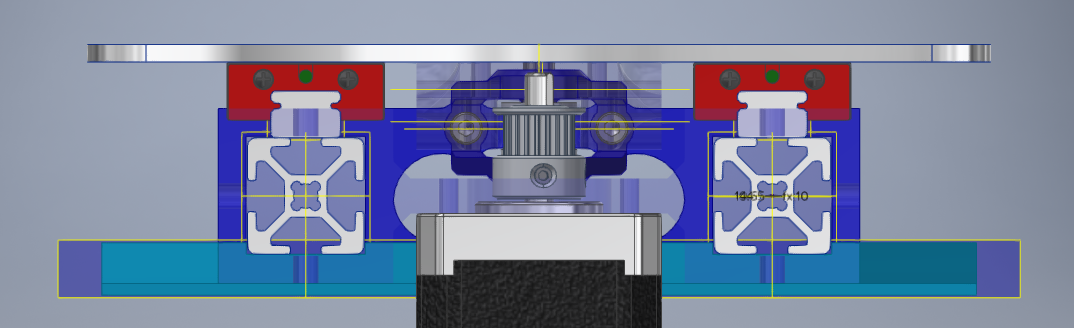
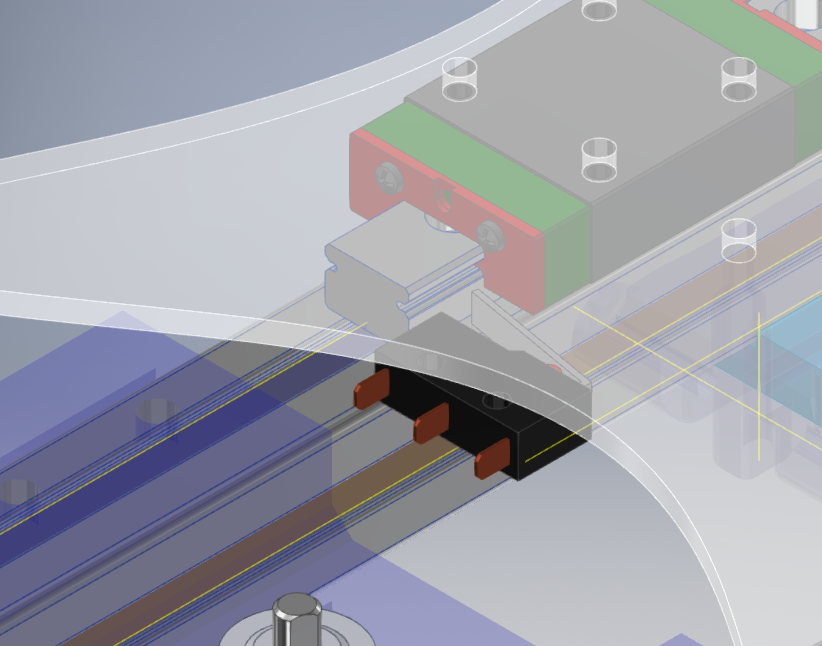
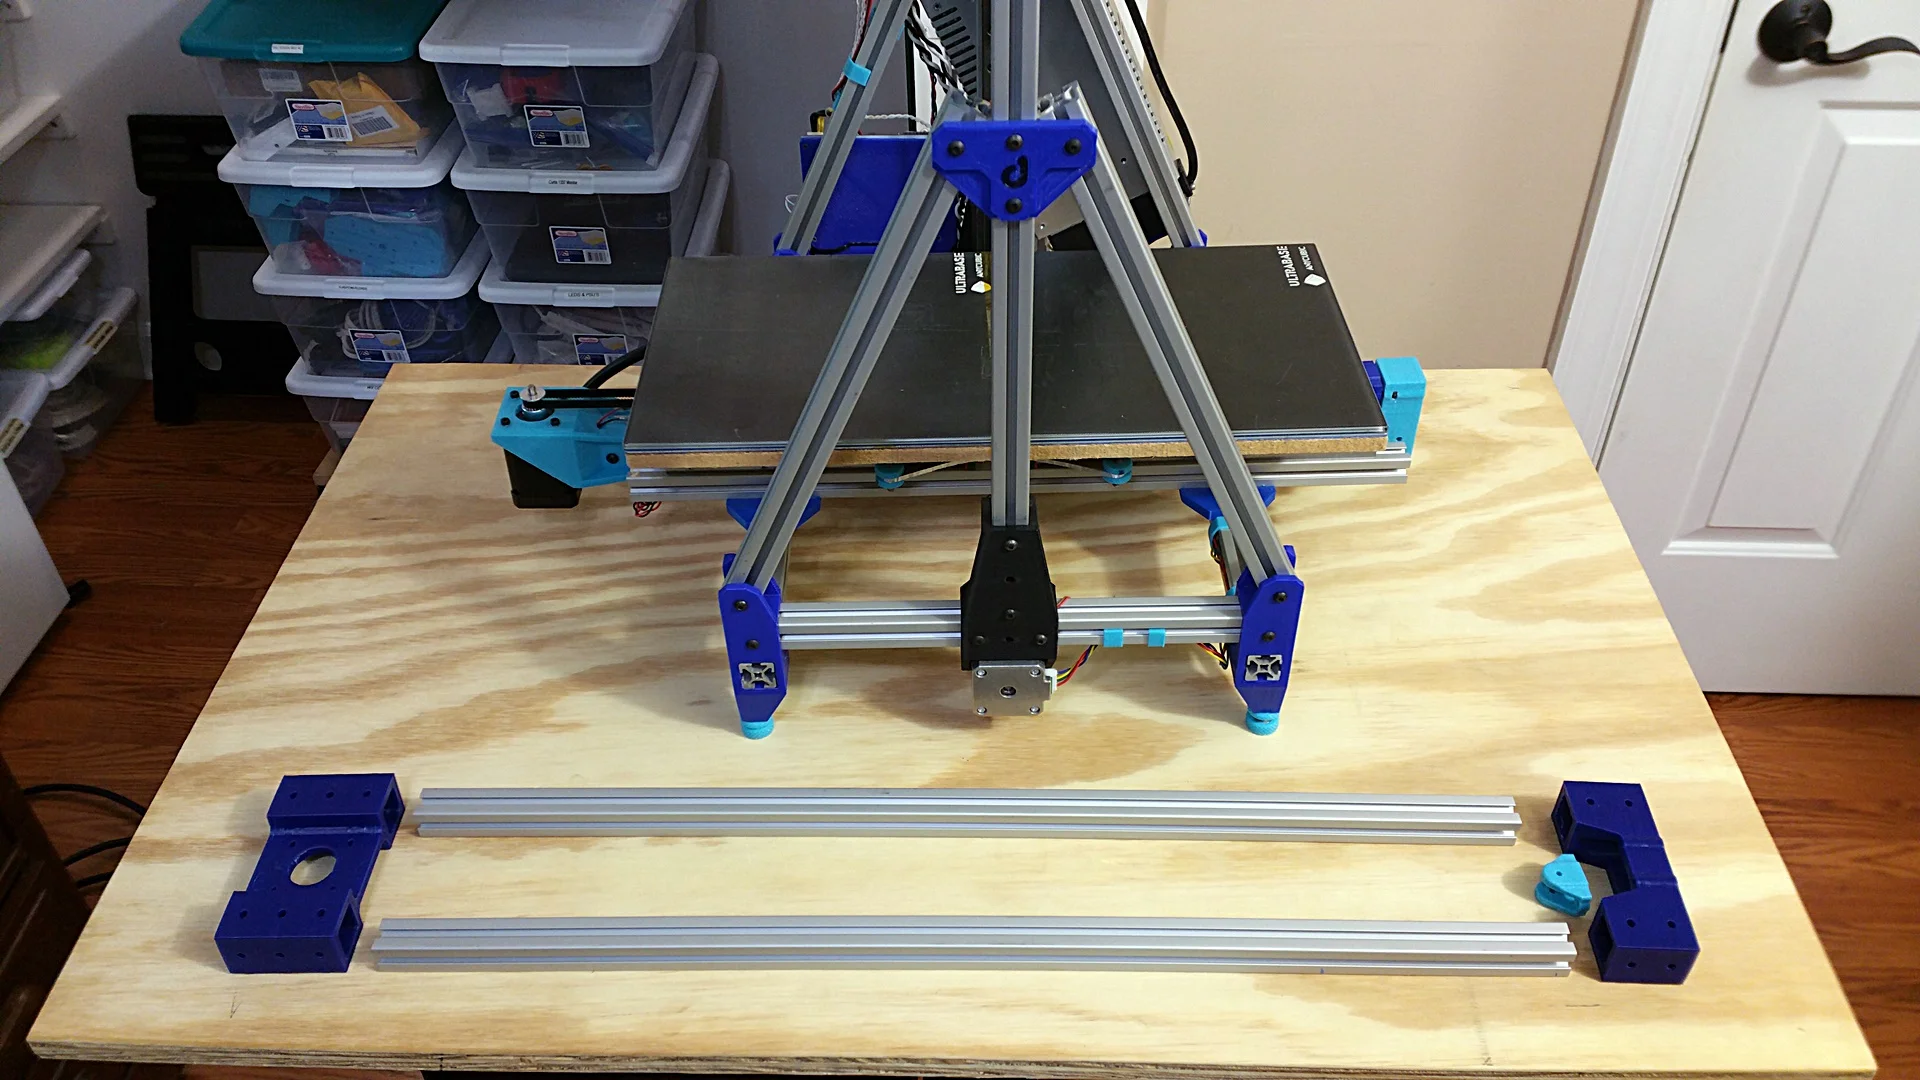
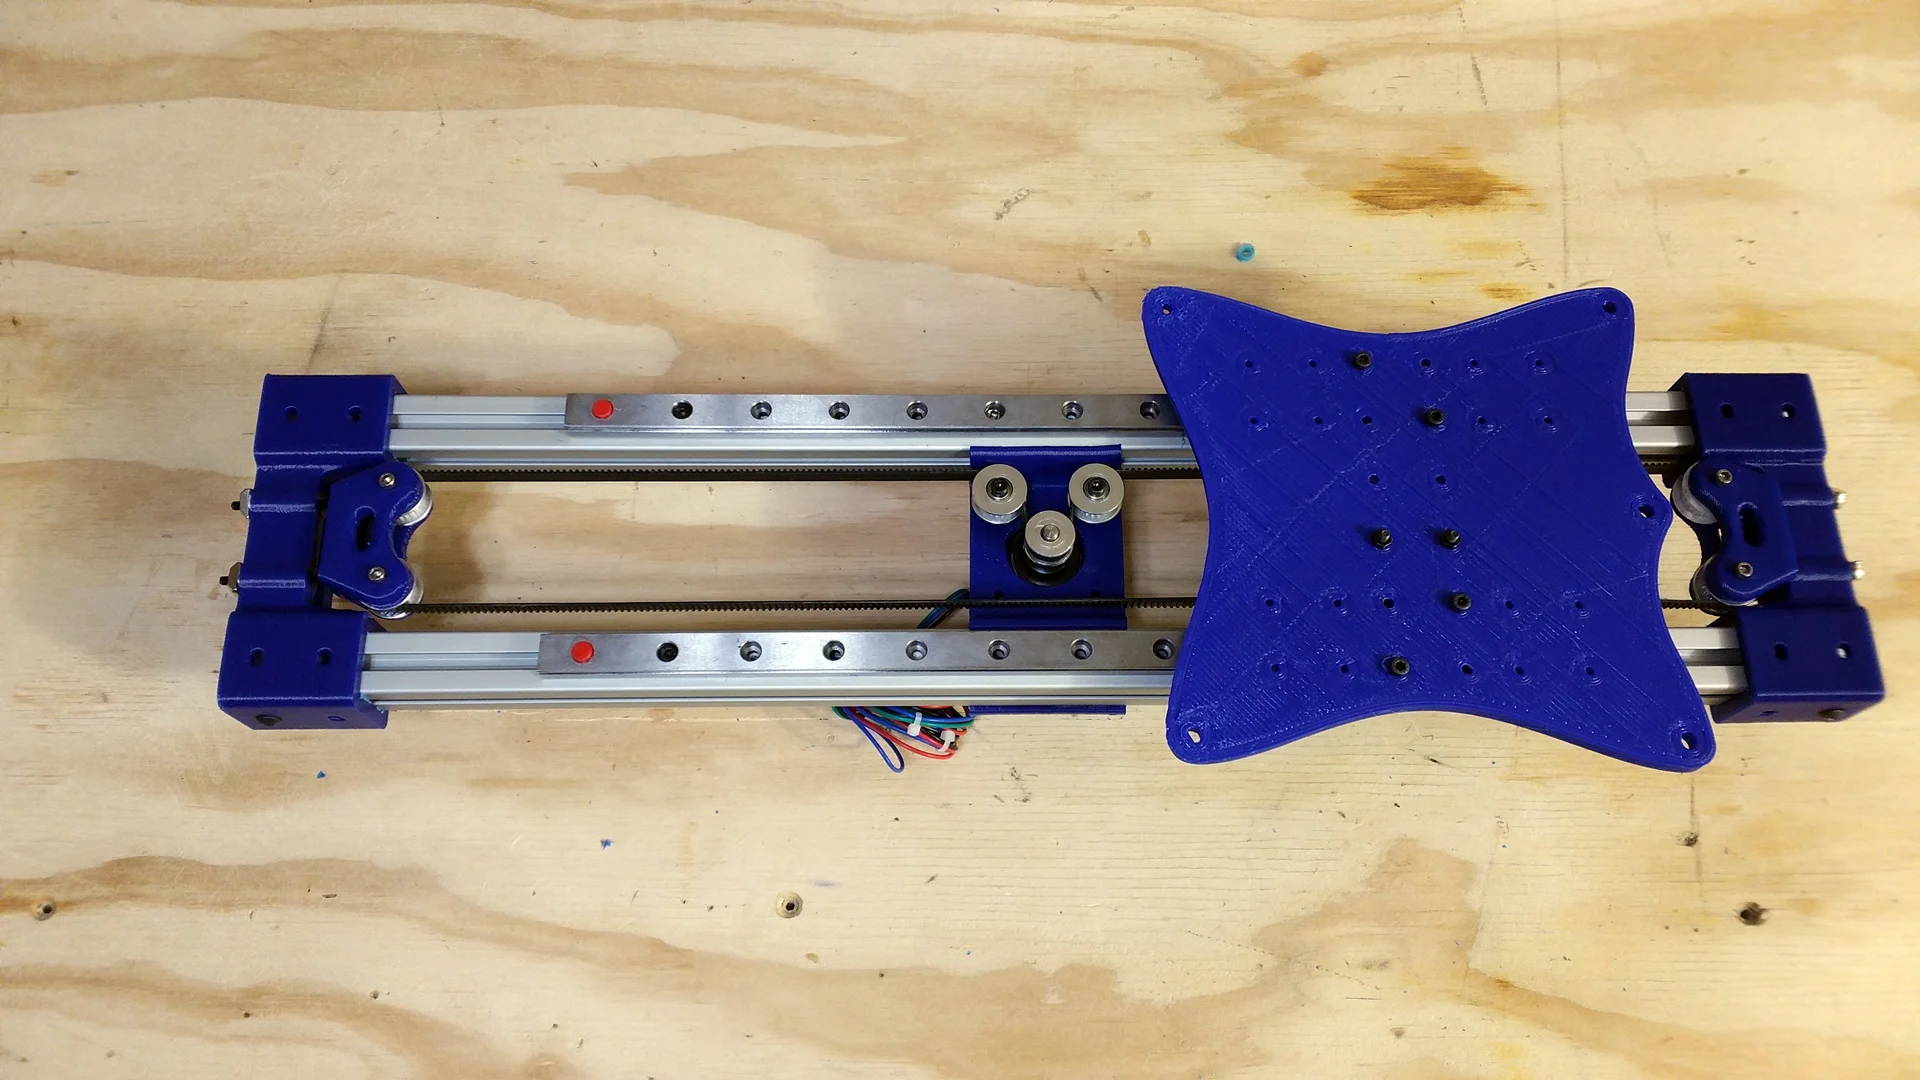
The first prototype parts revealed the Belt Retainer Bracket was hitting the Stepper Drive Pulley.

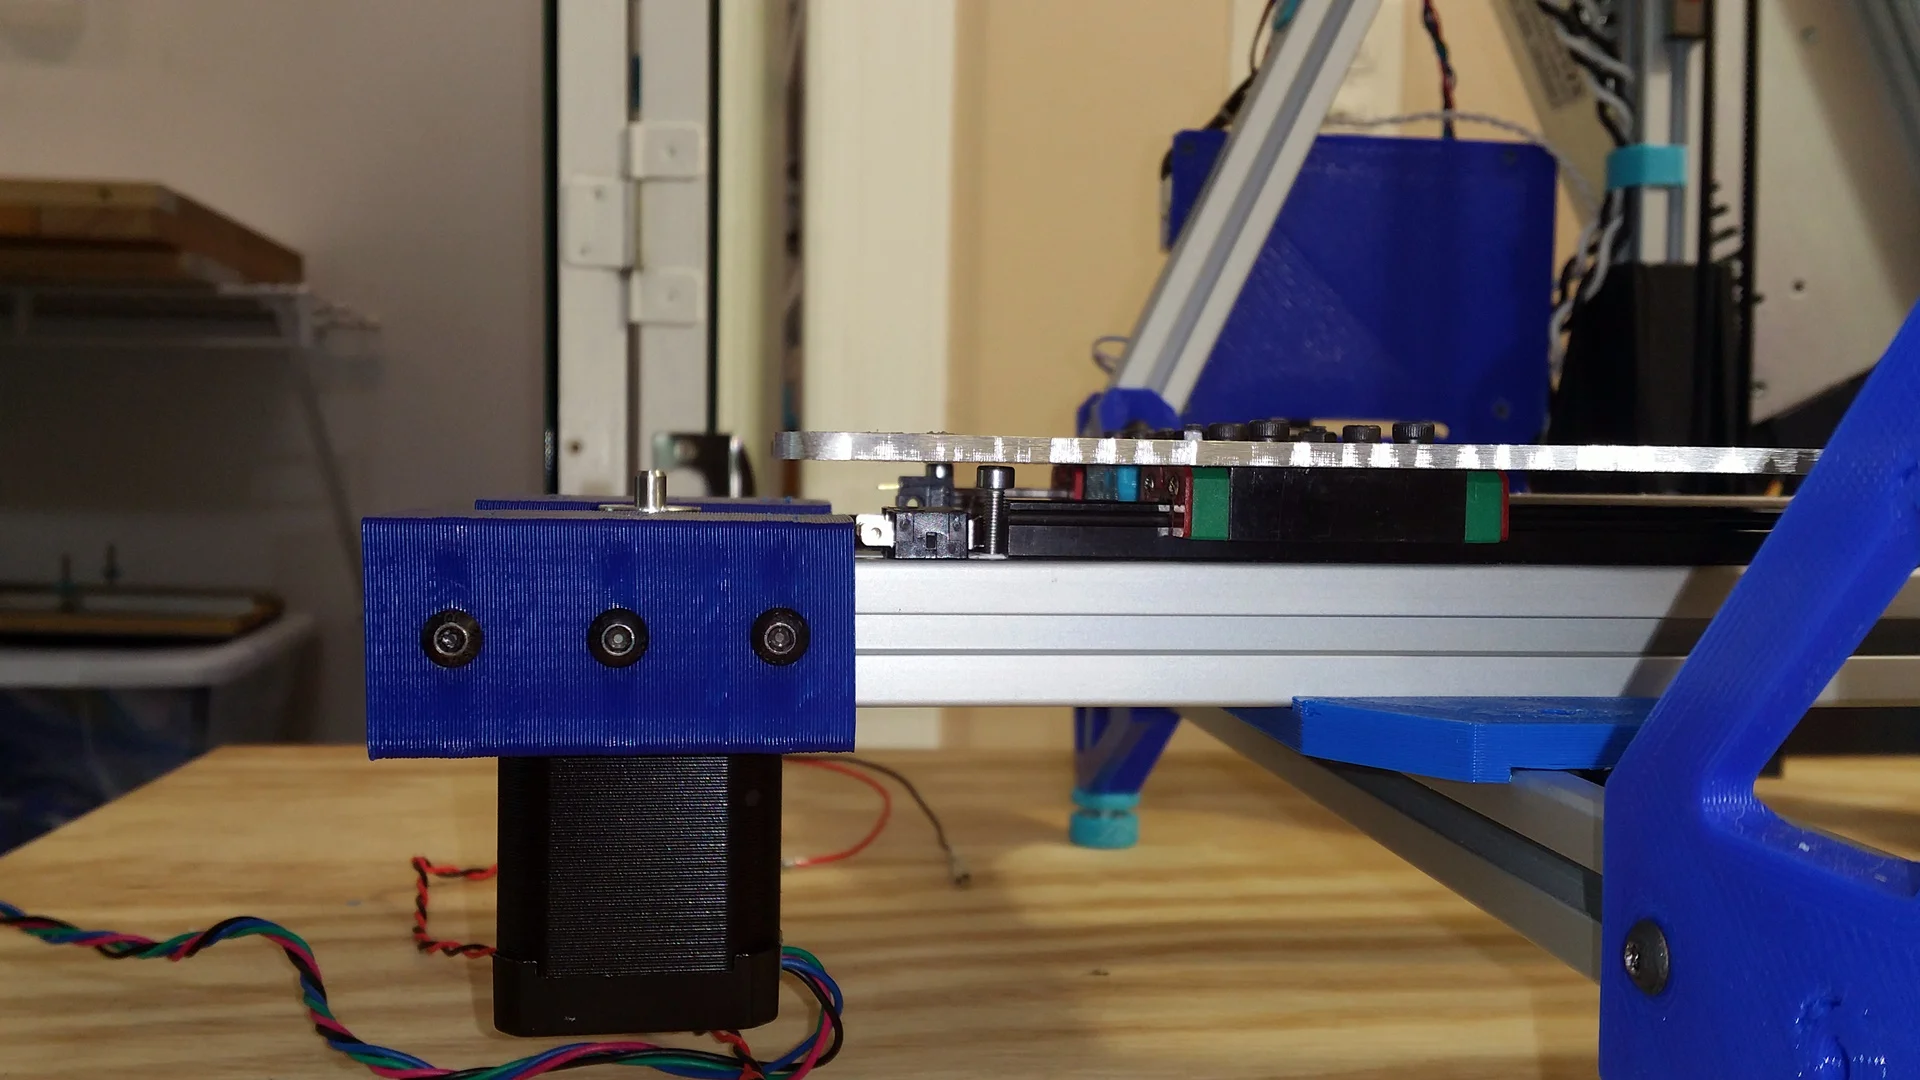
The entire belt run was moved down ~5mm to increase the clearance between the Belt Retainer Bracket and the Stepper Drive Pulley.

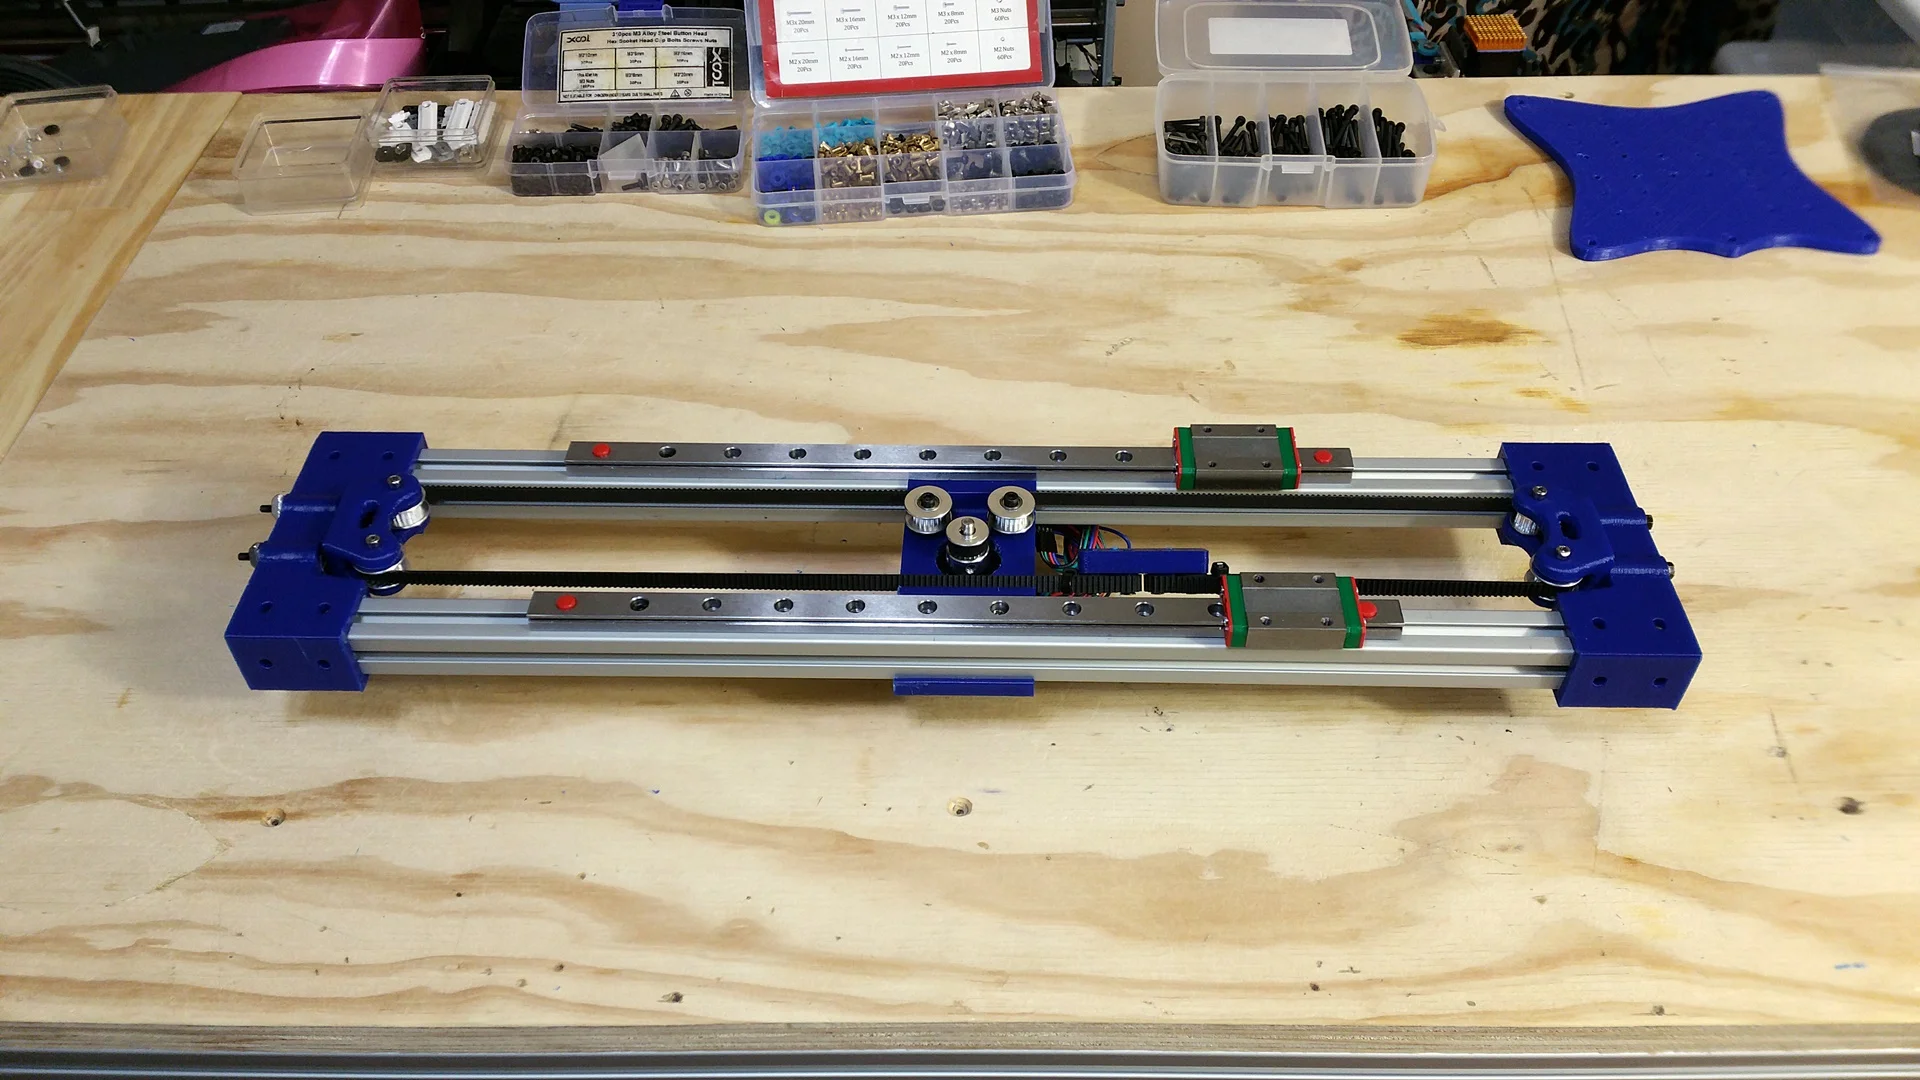
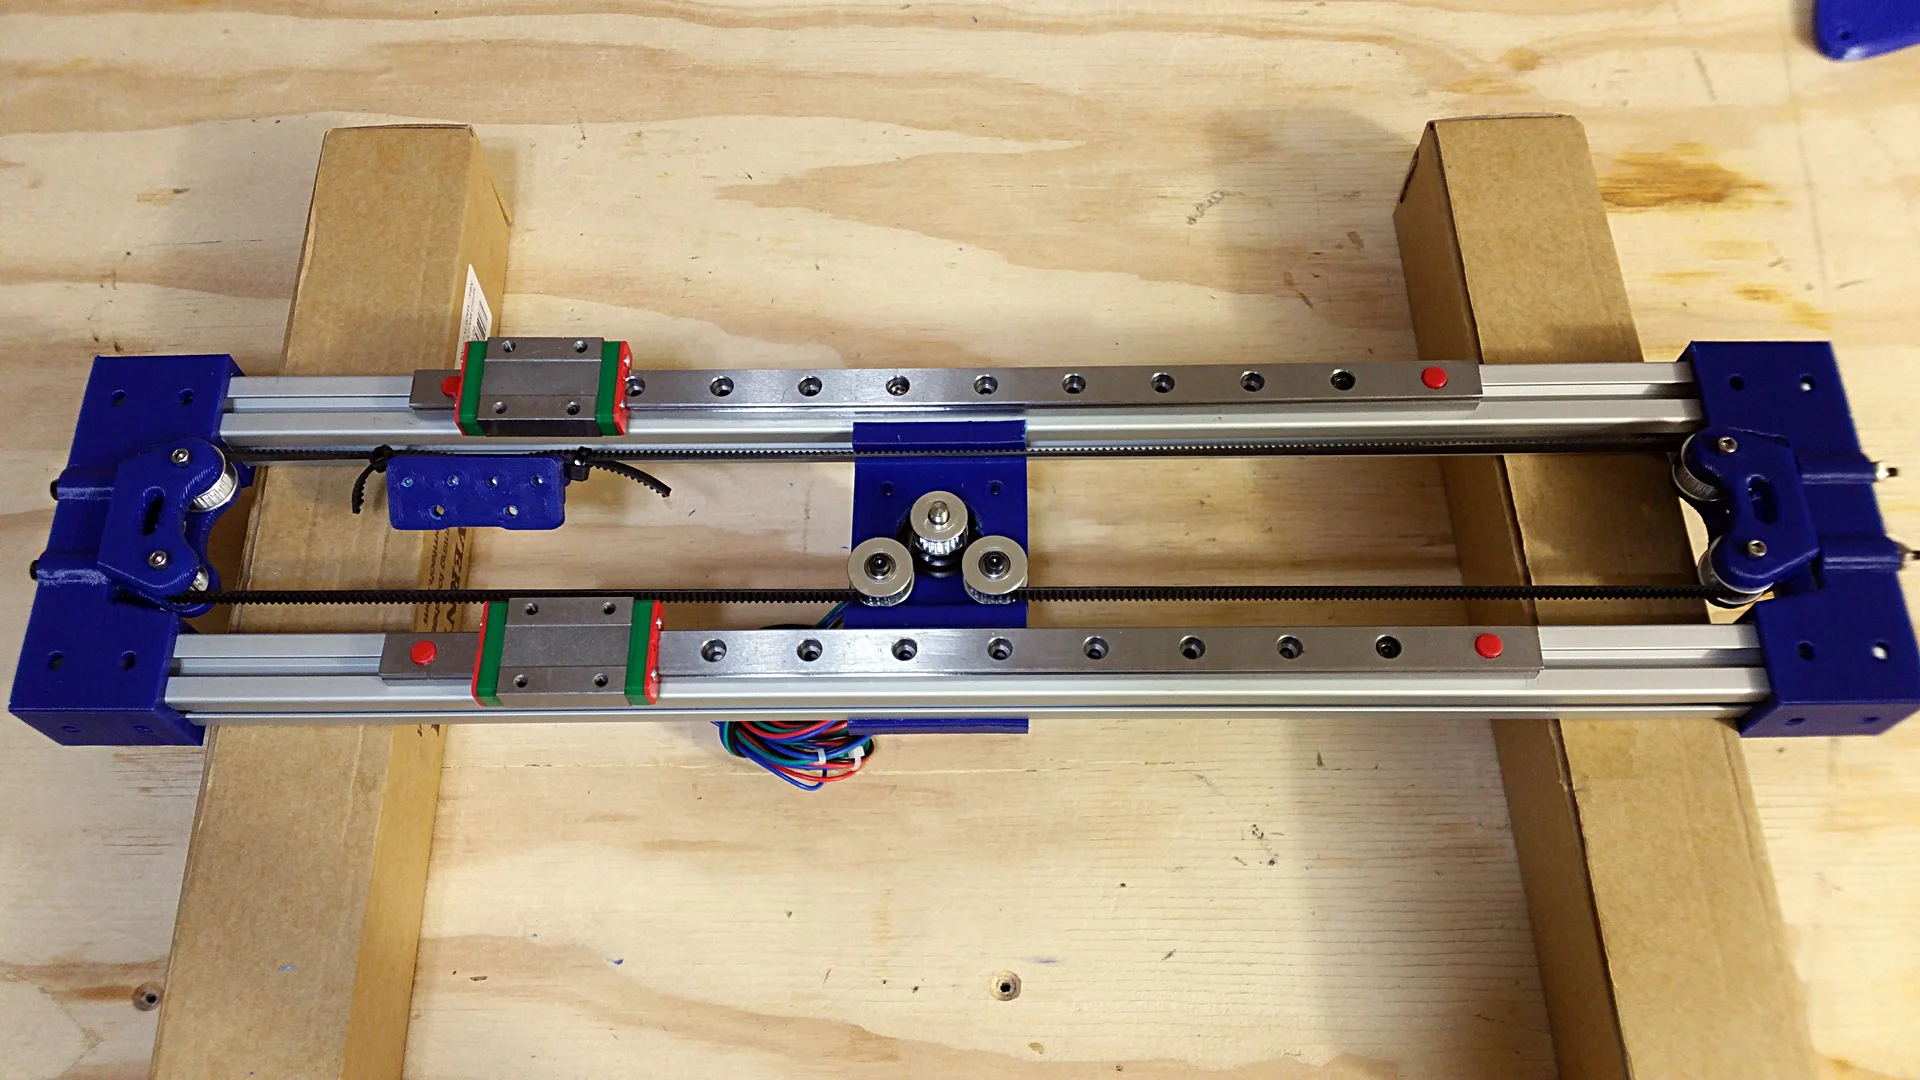
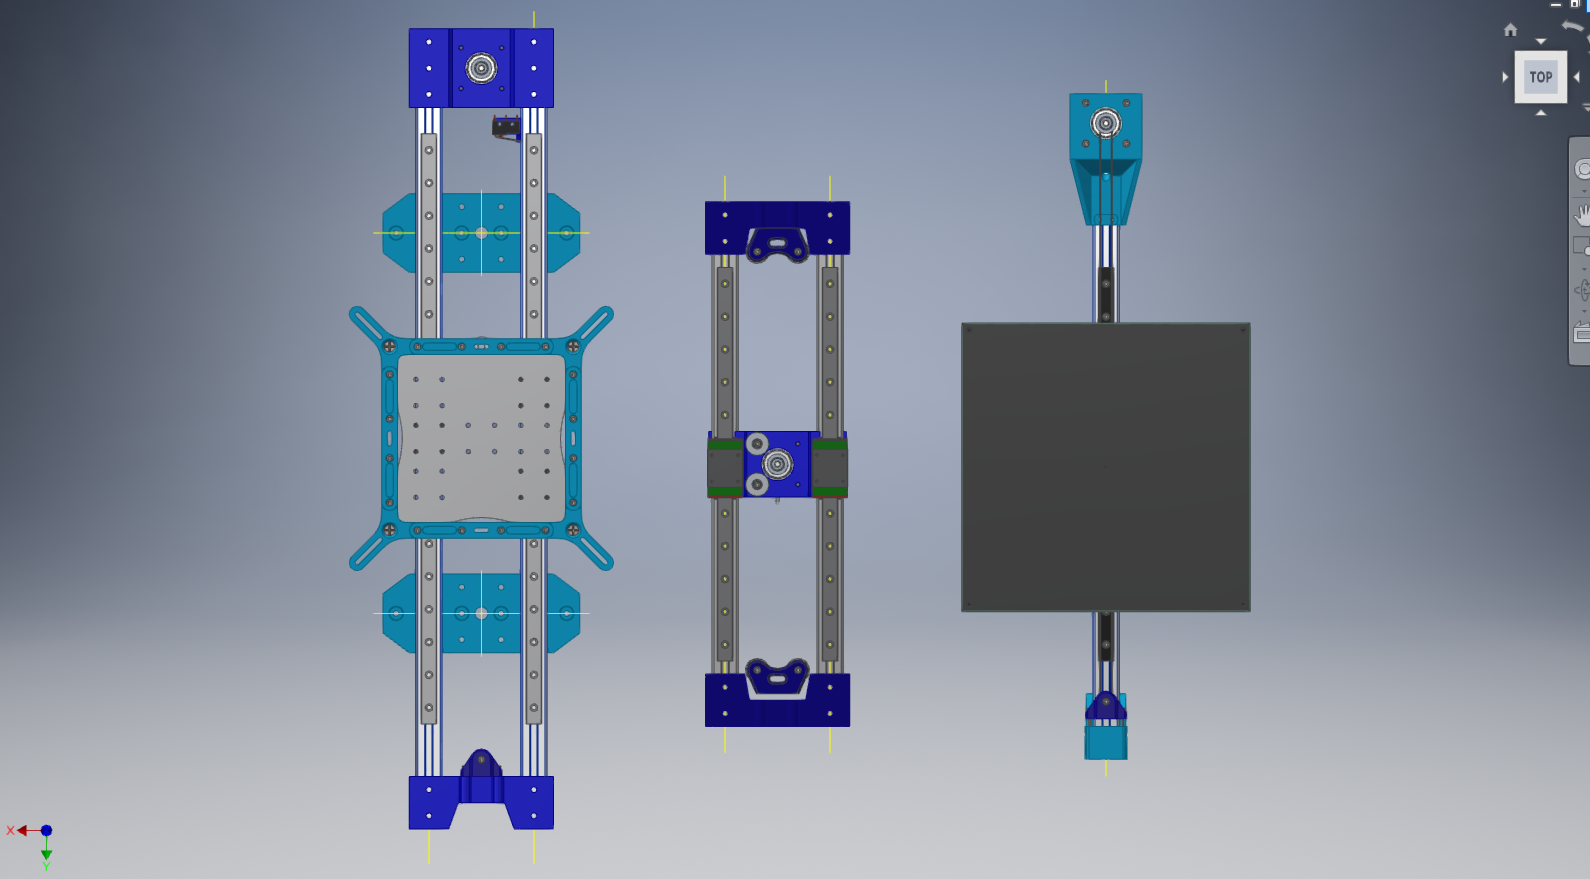
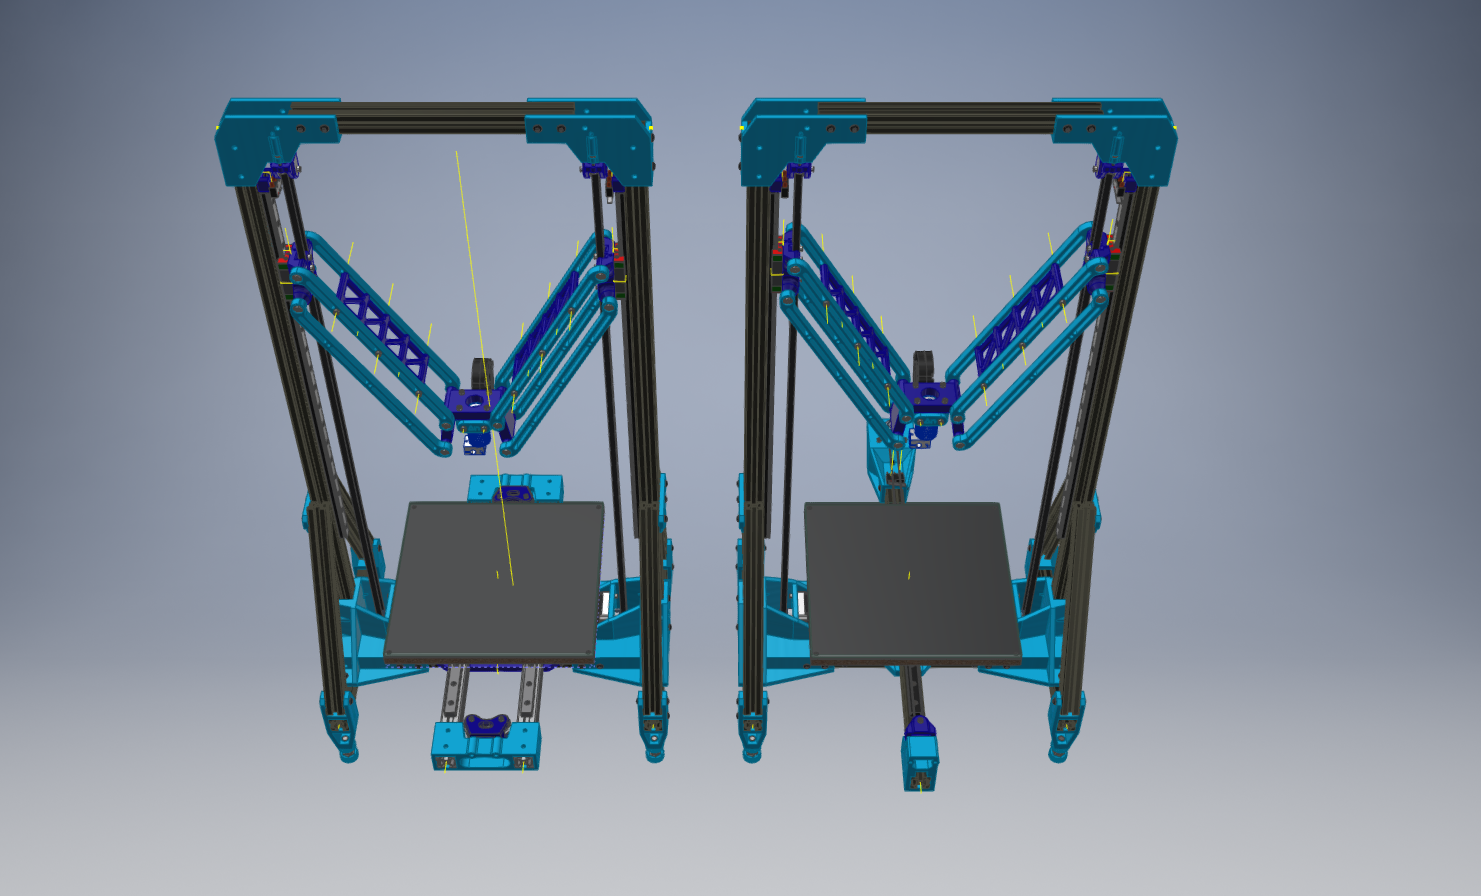
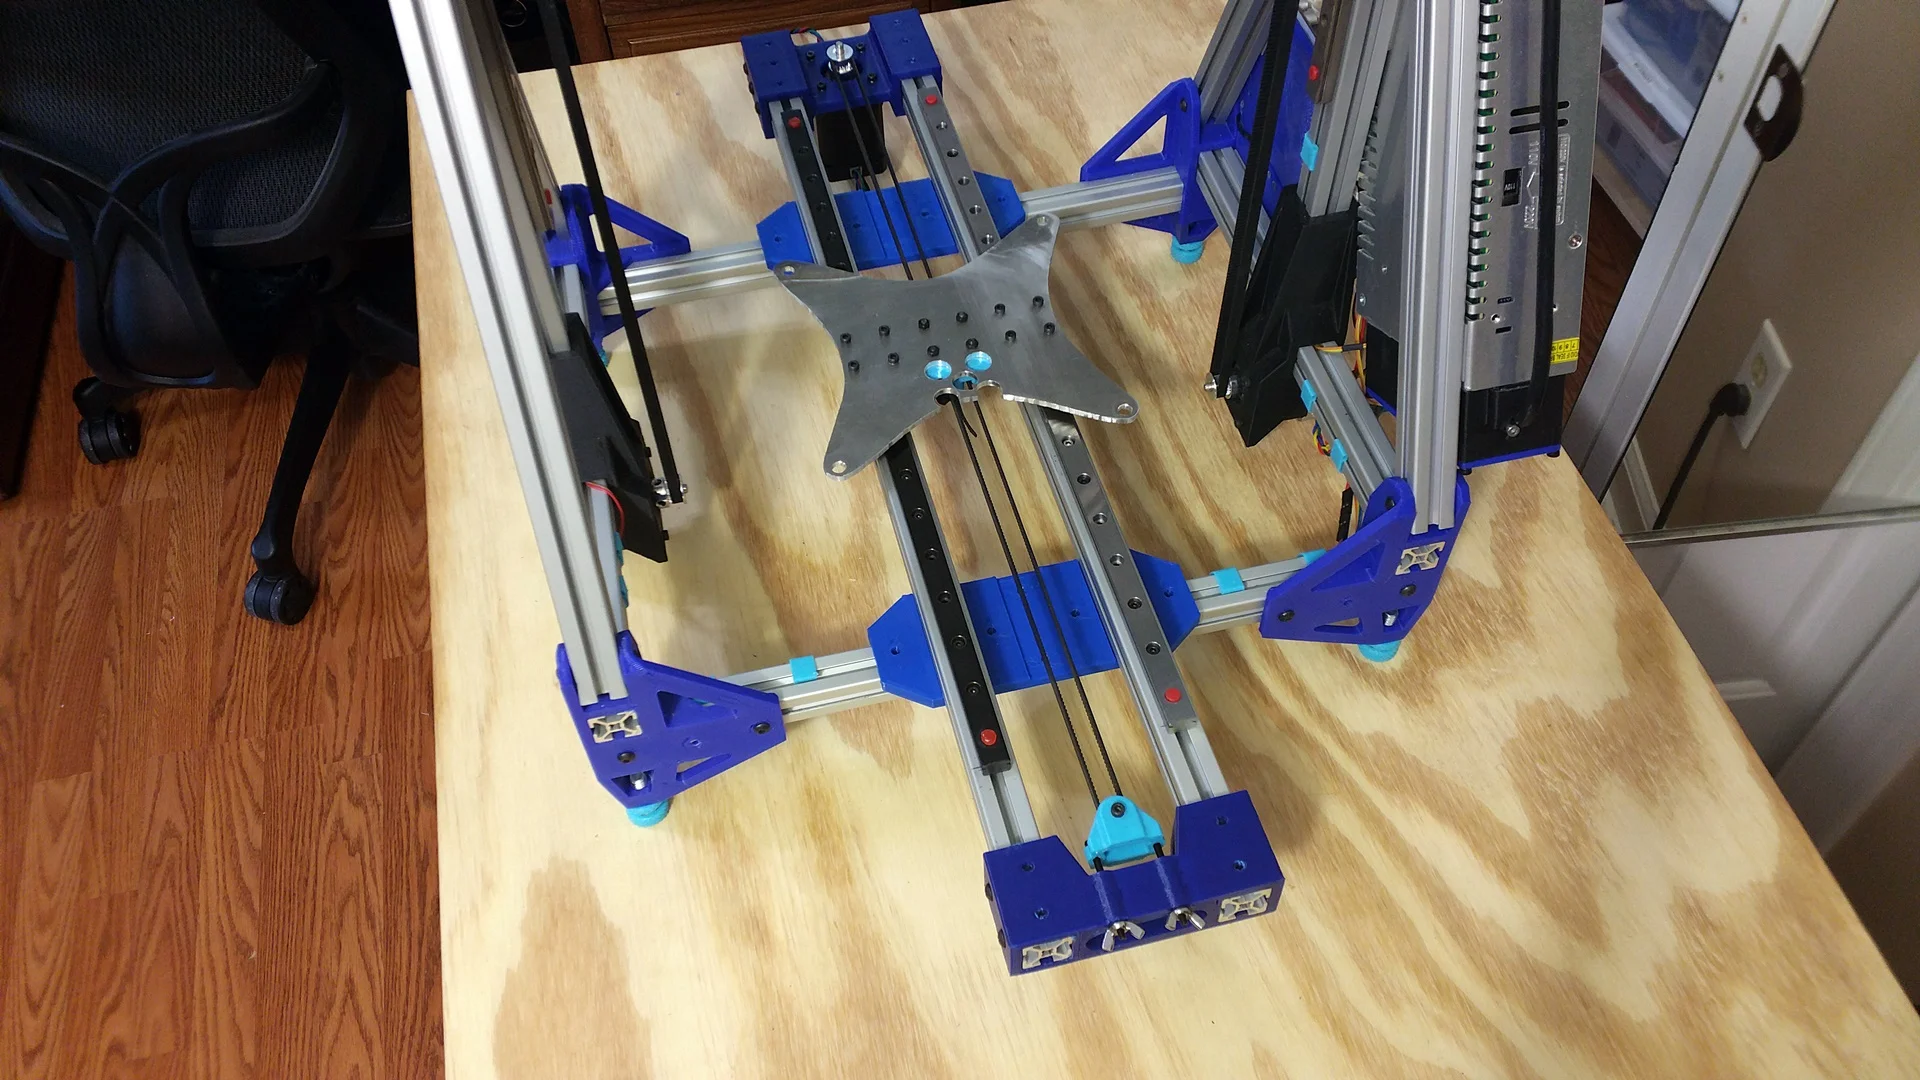
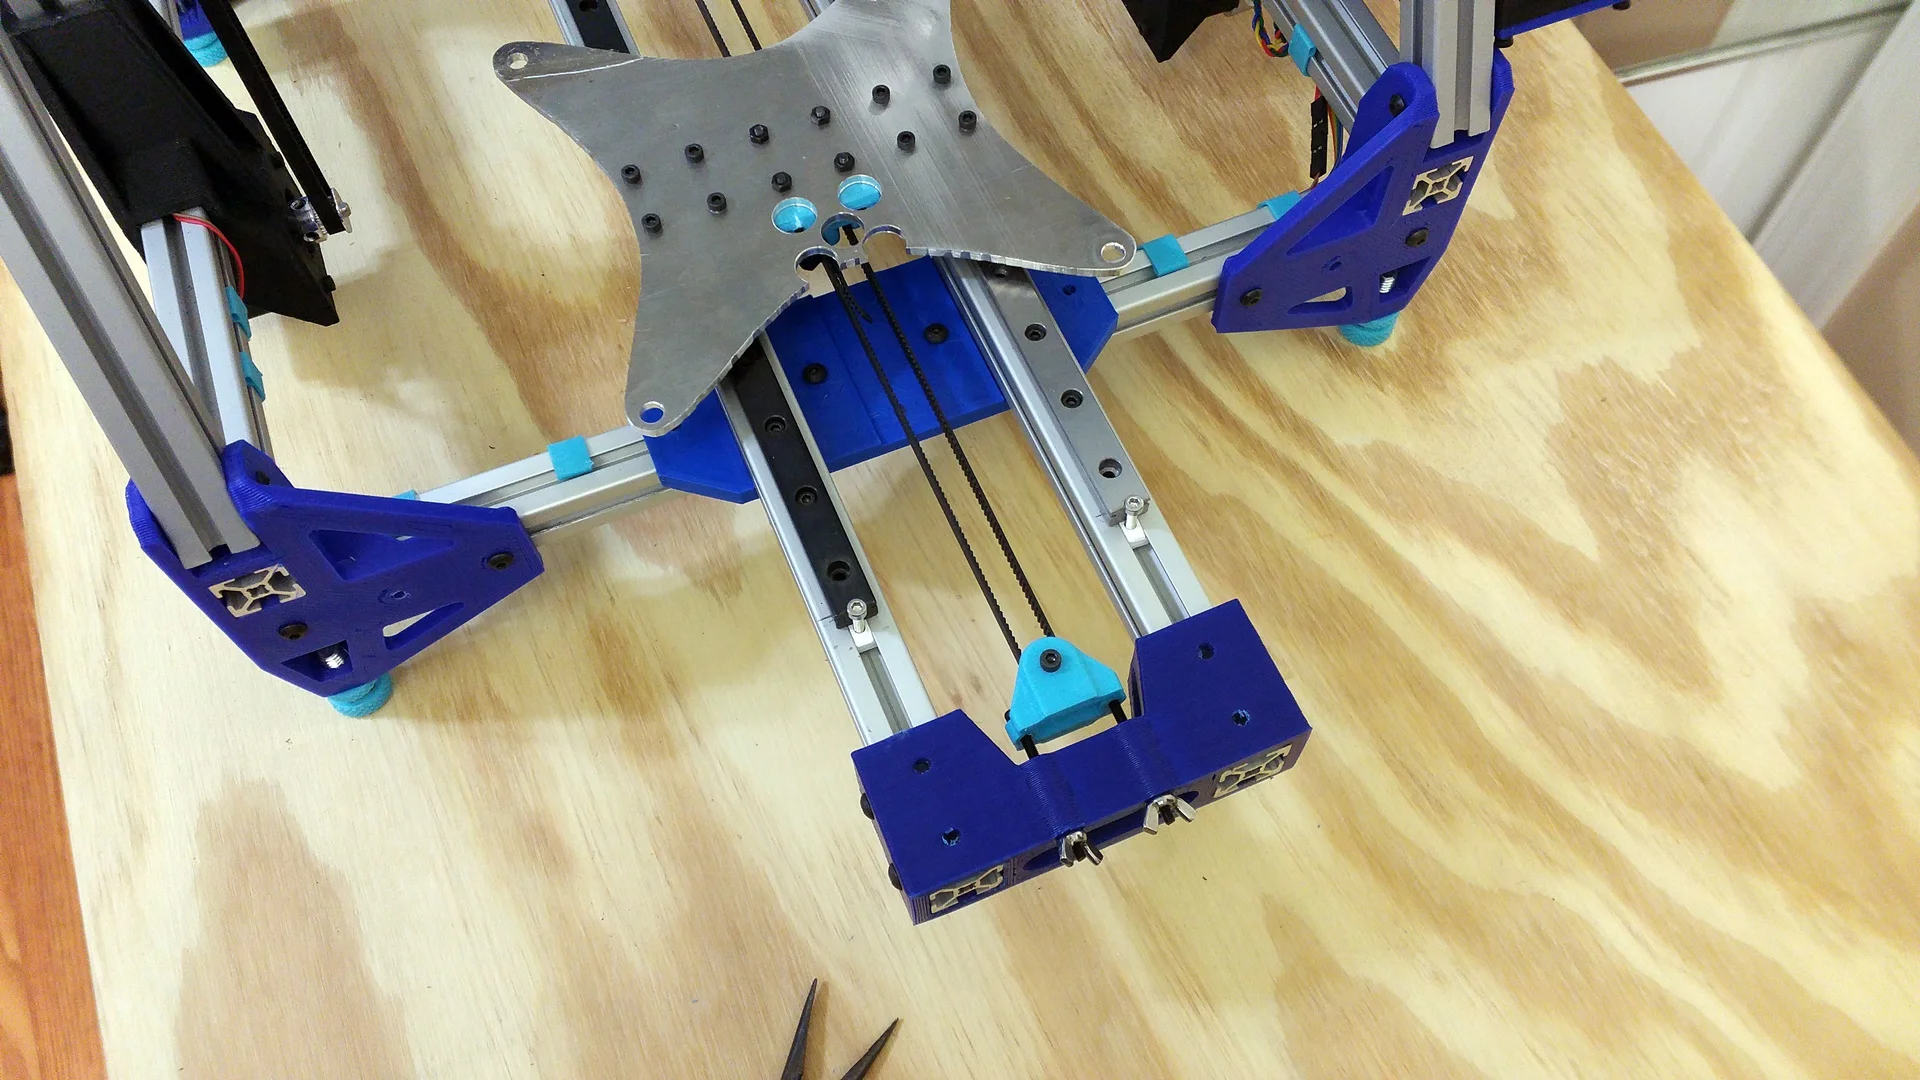
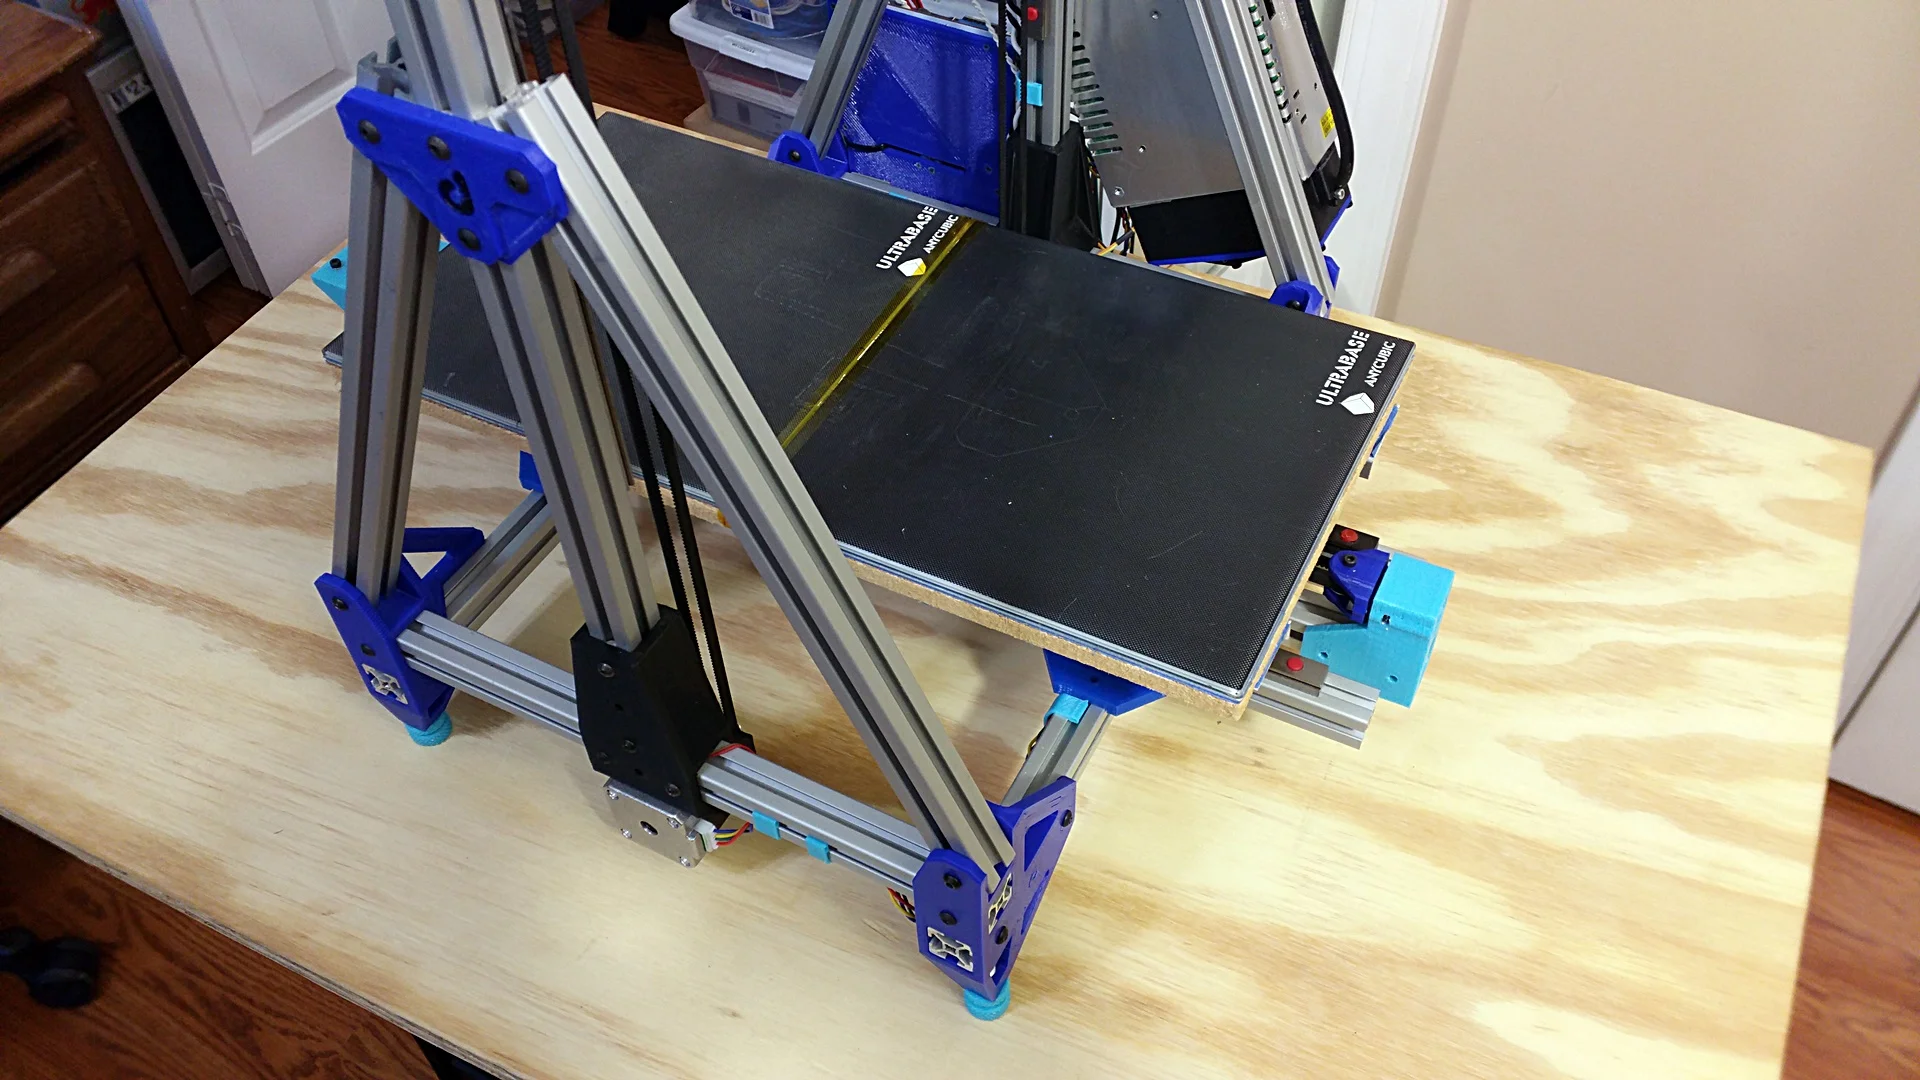
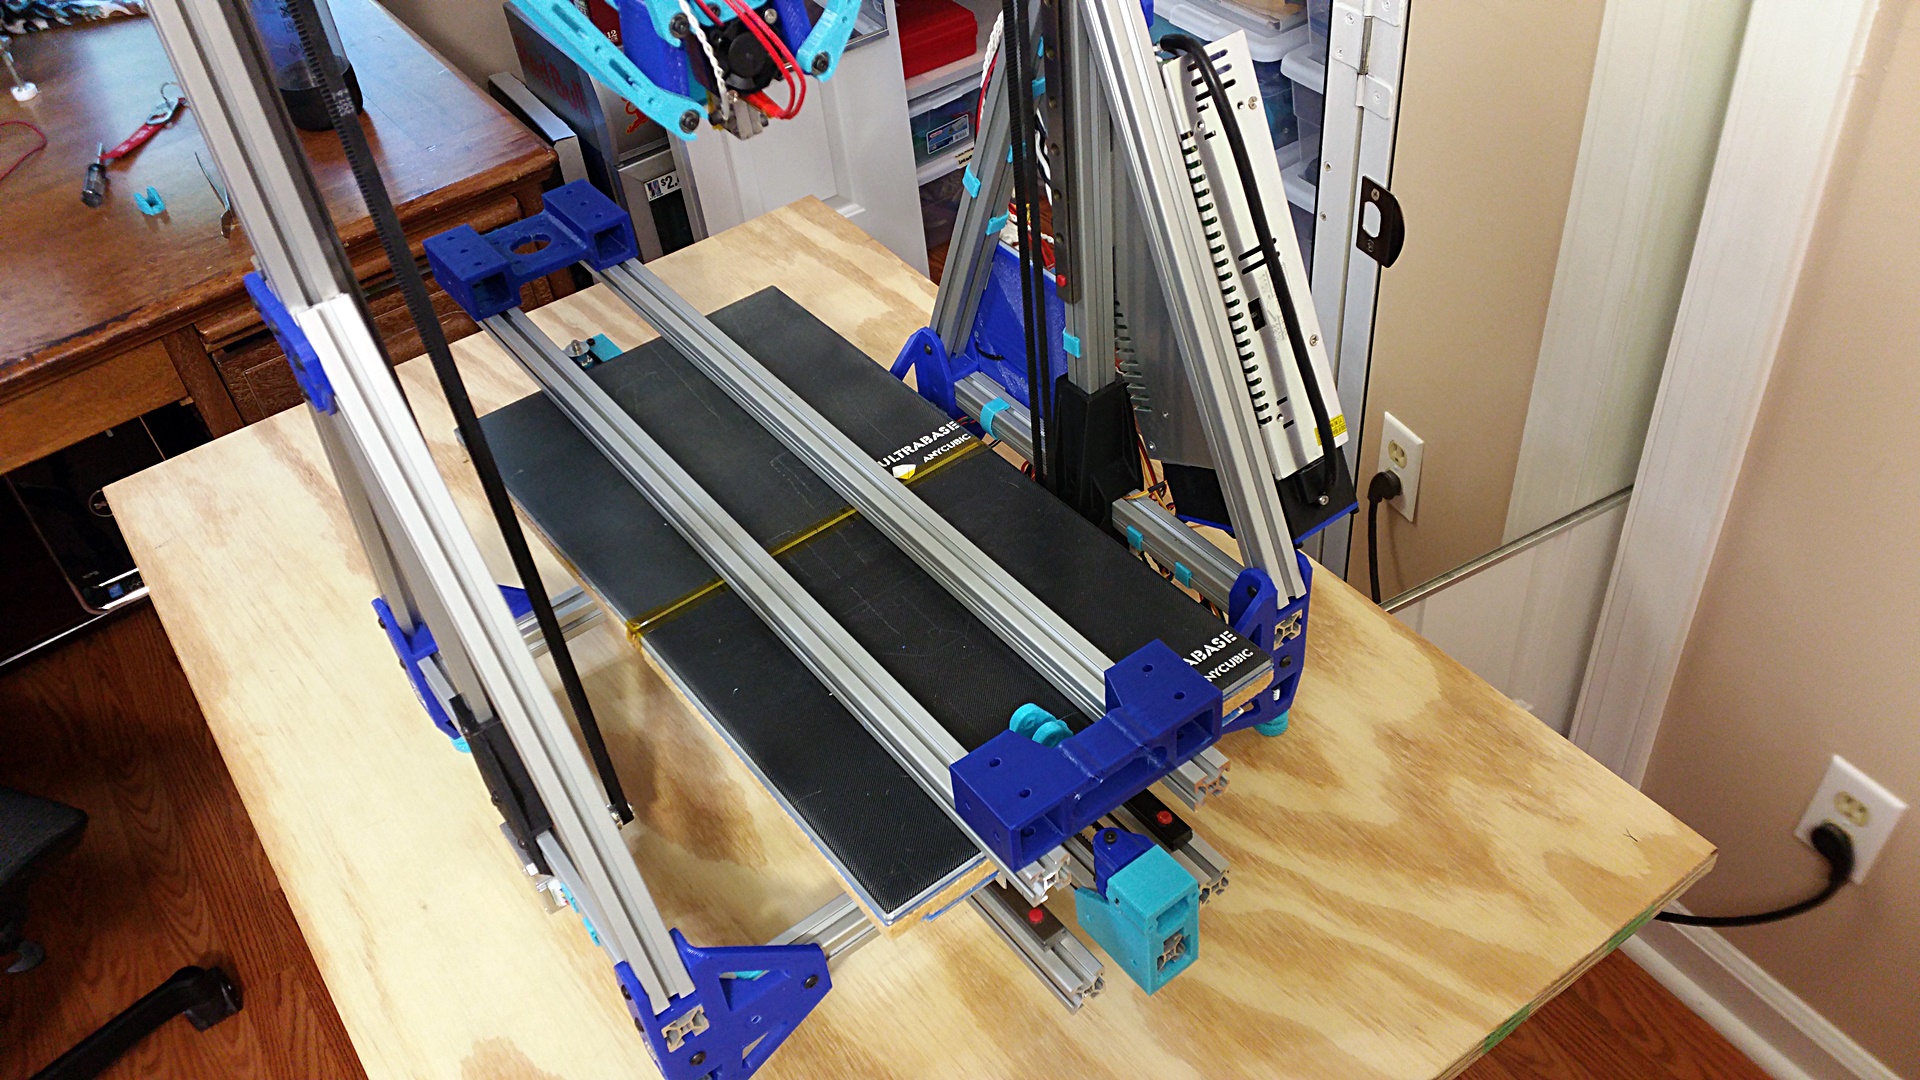
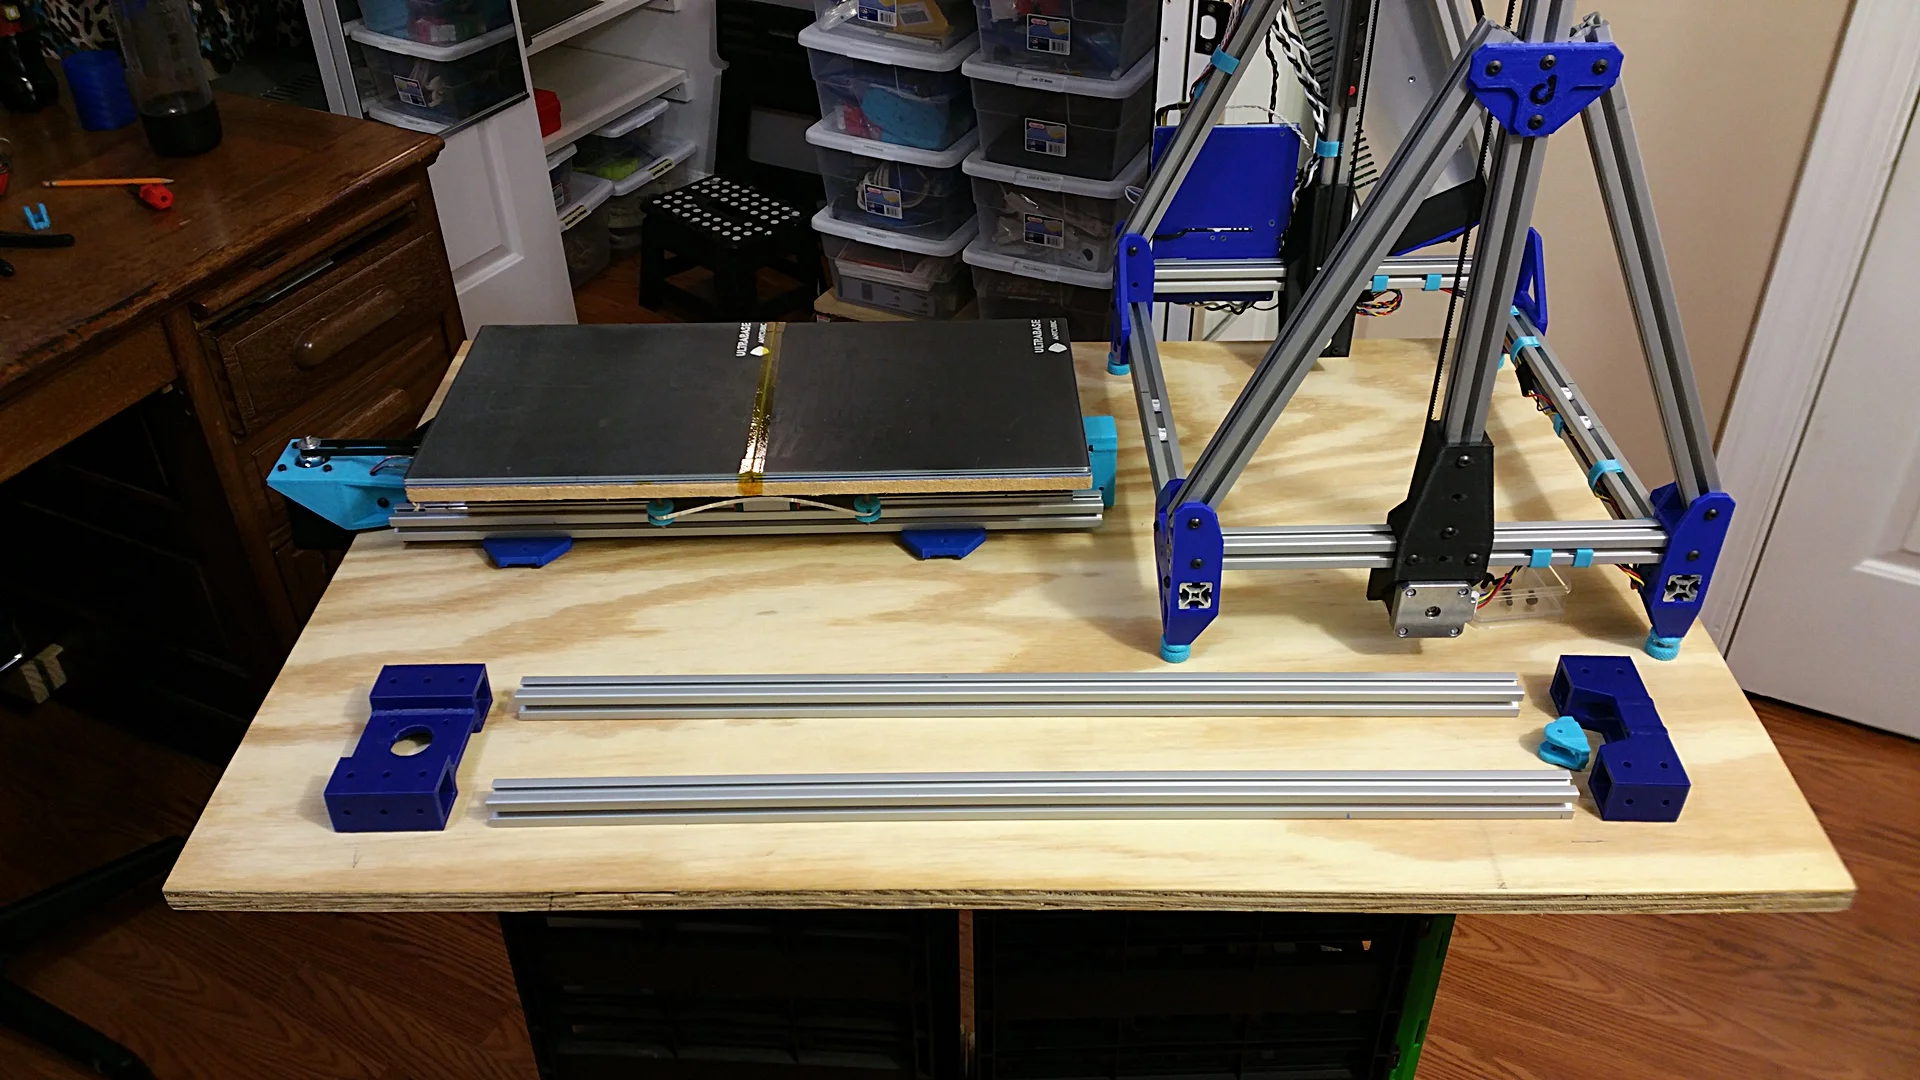
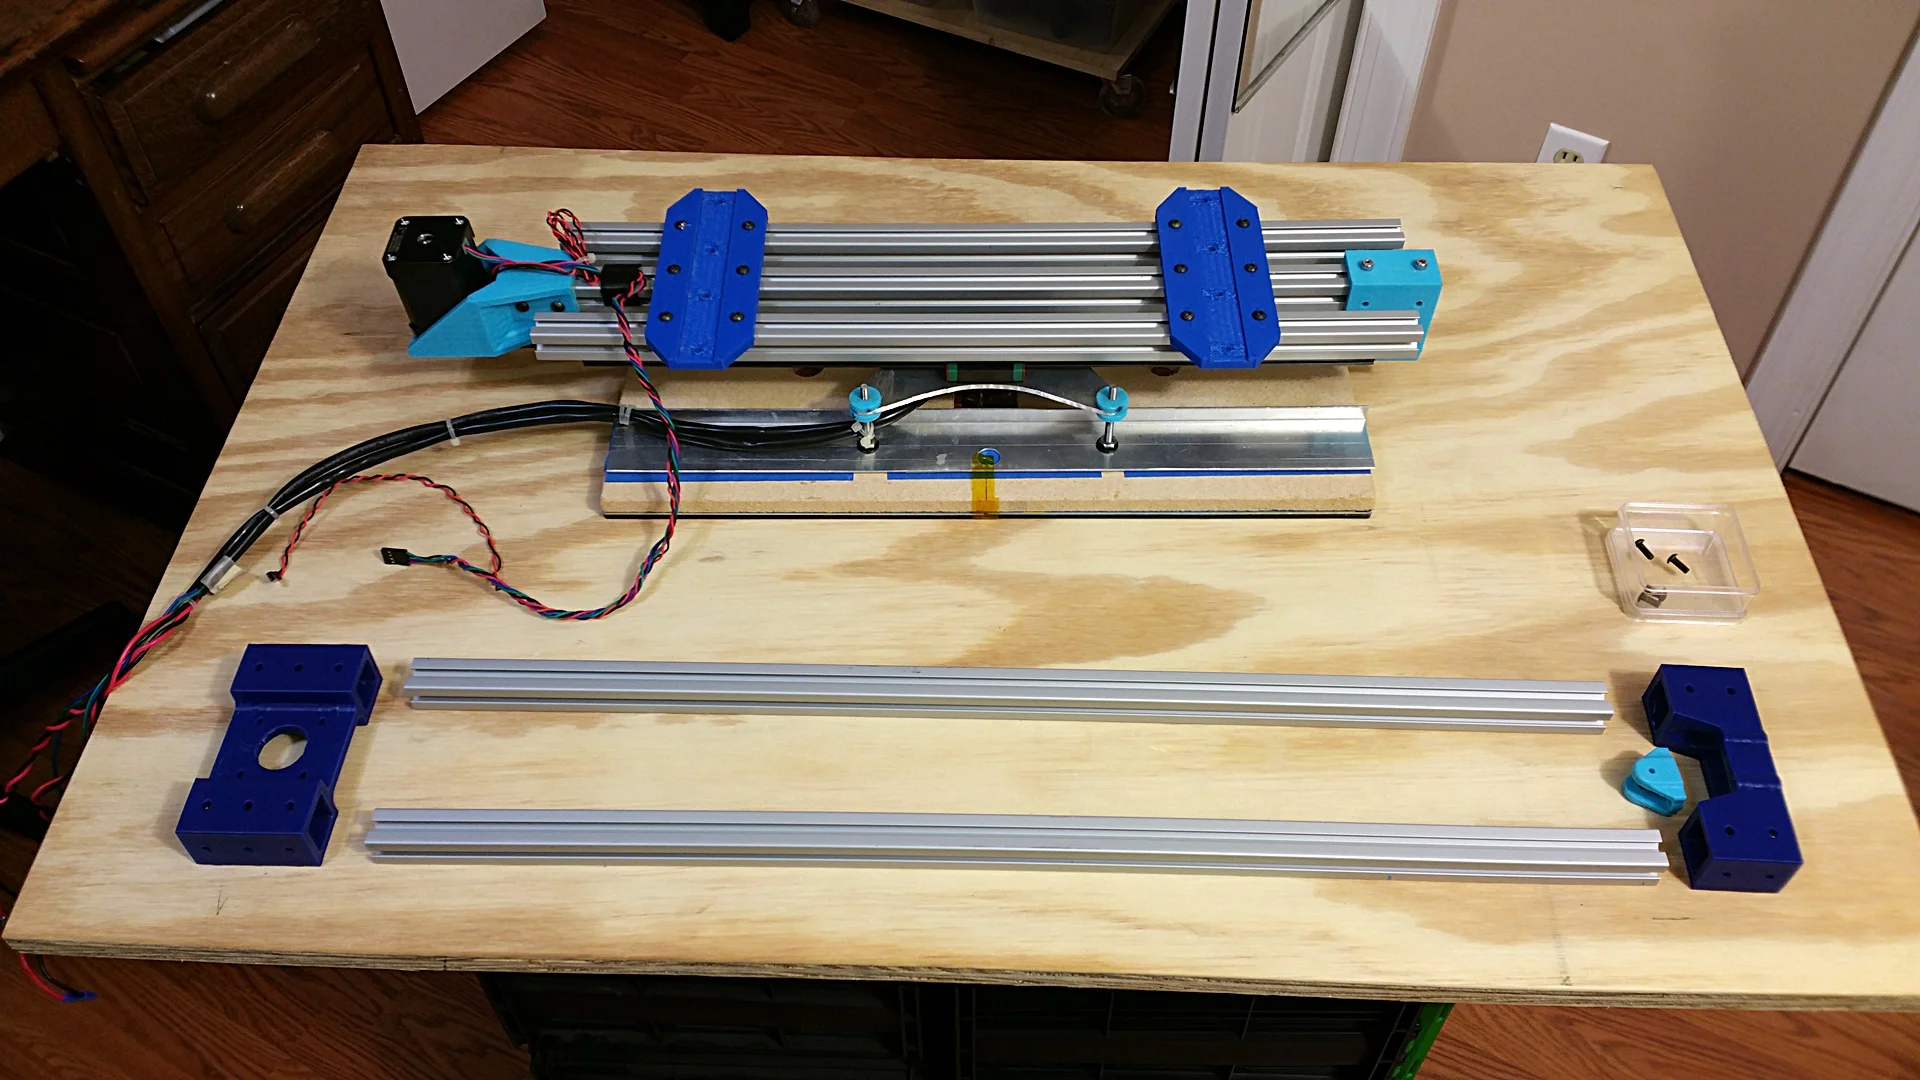
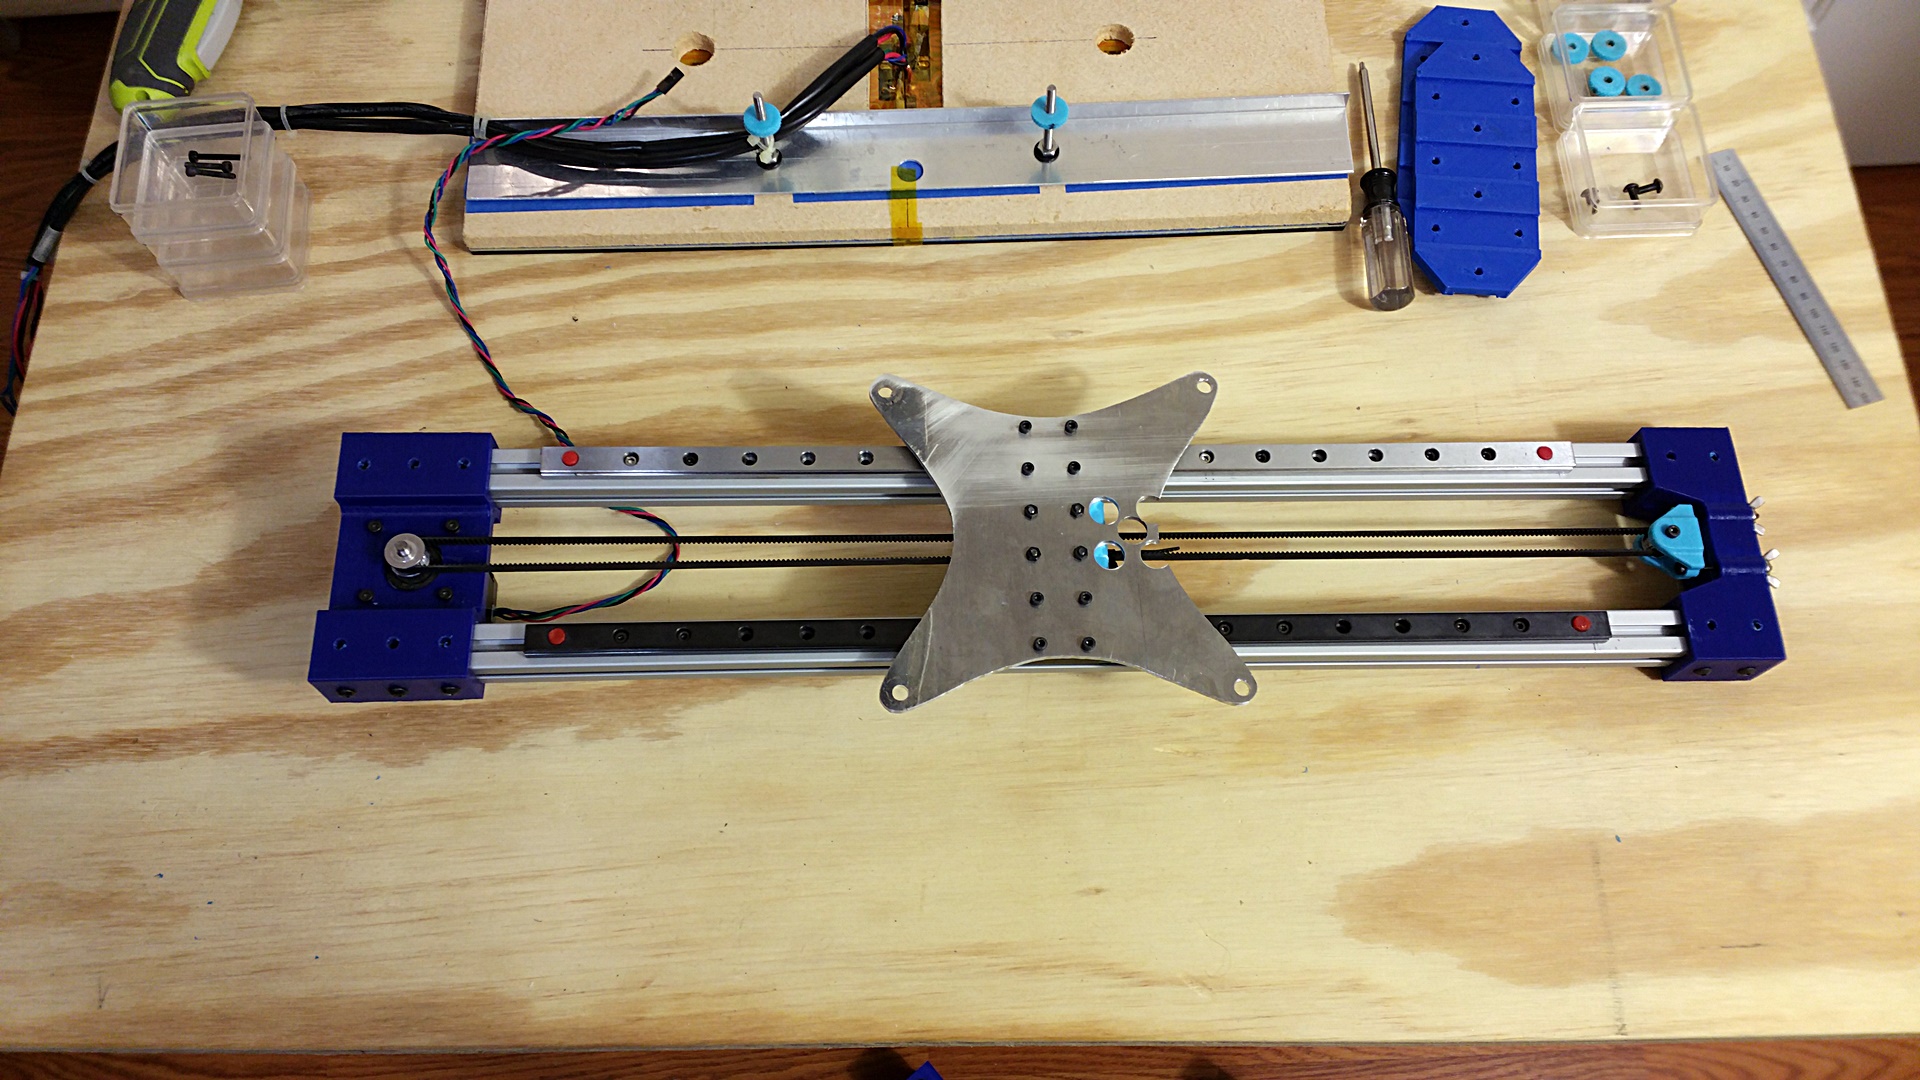
Prototype 2 parts printed and assembled:

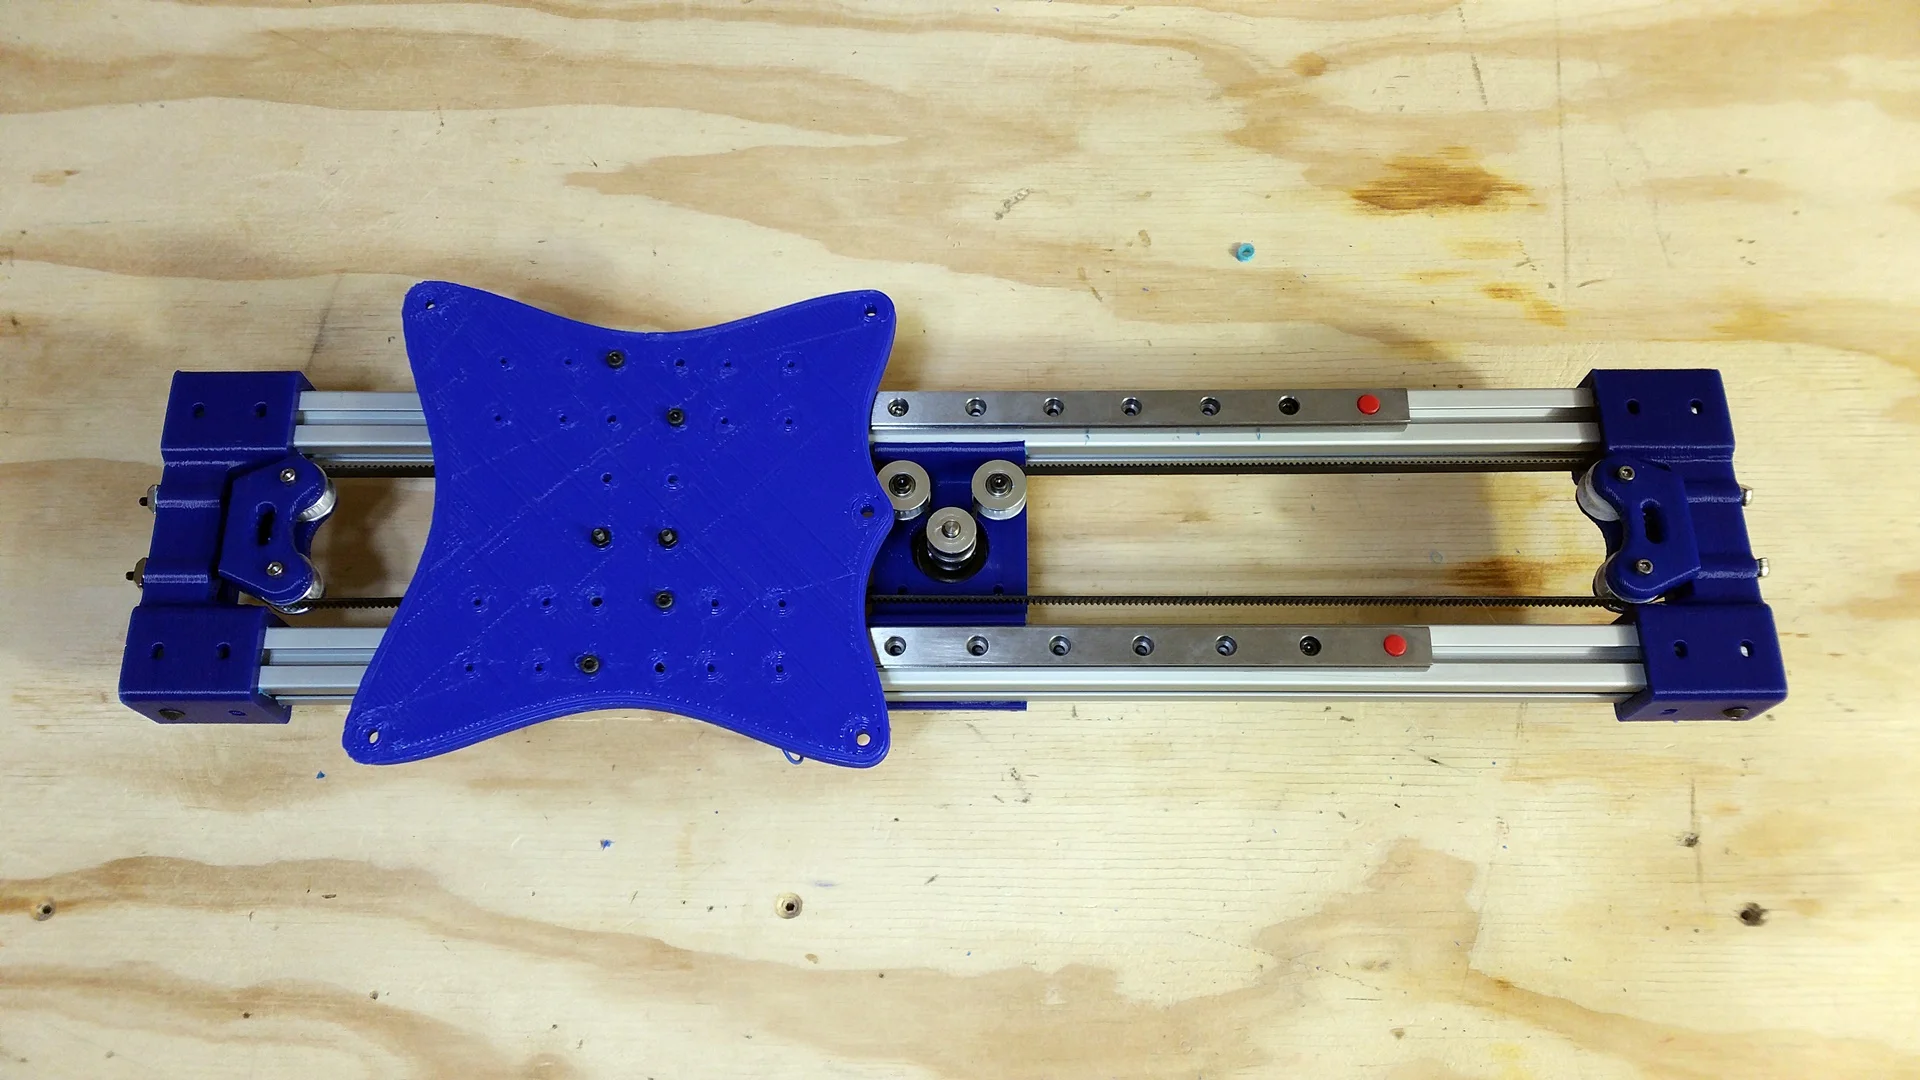
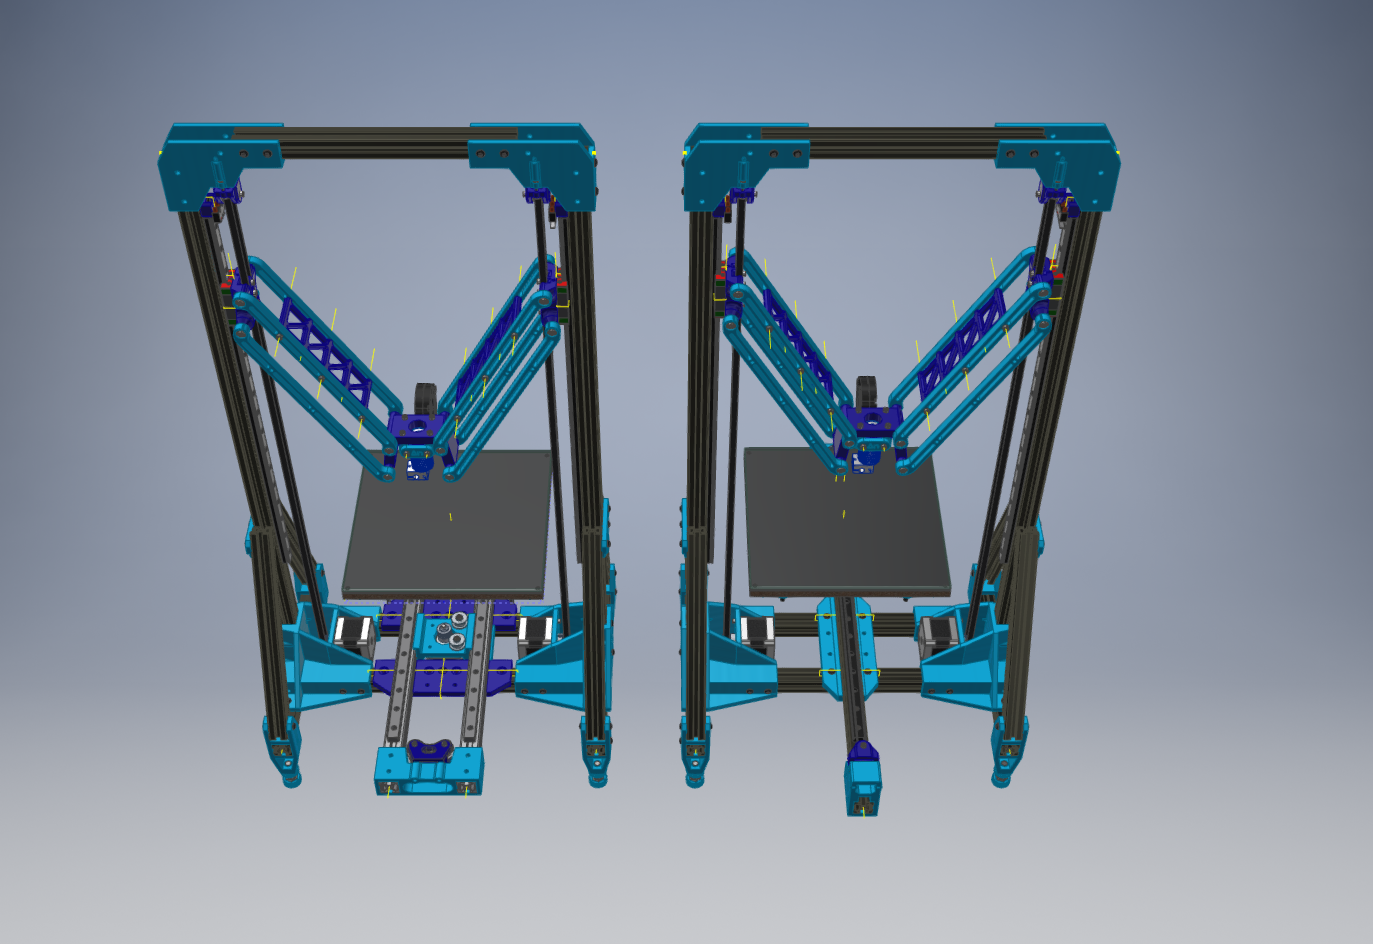
New parts have clean movement with no interference!

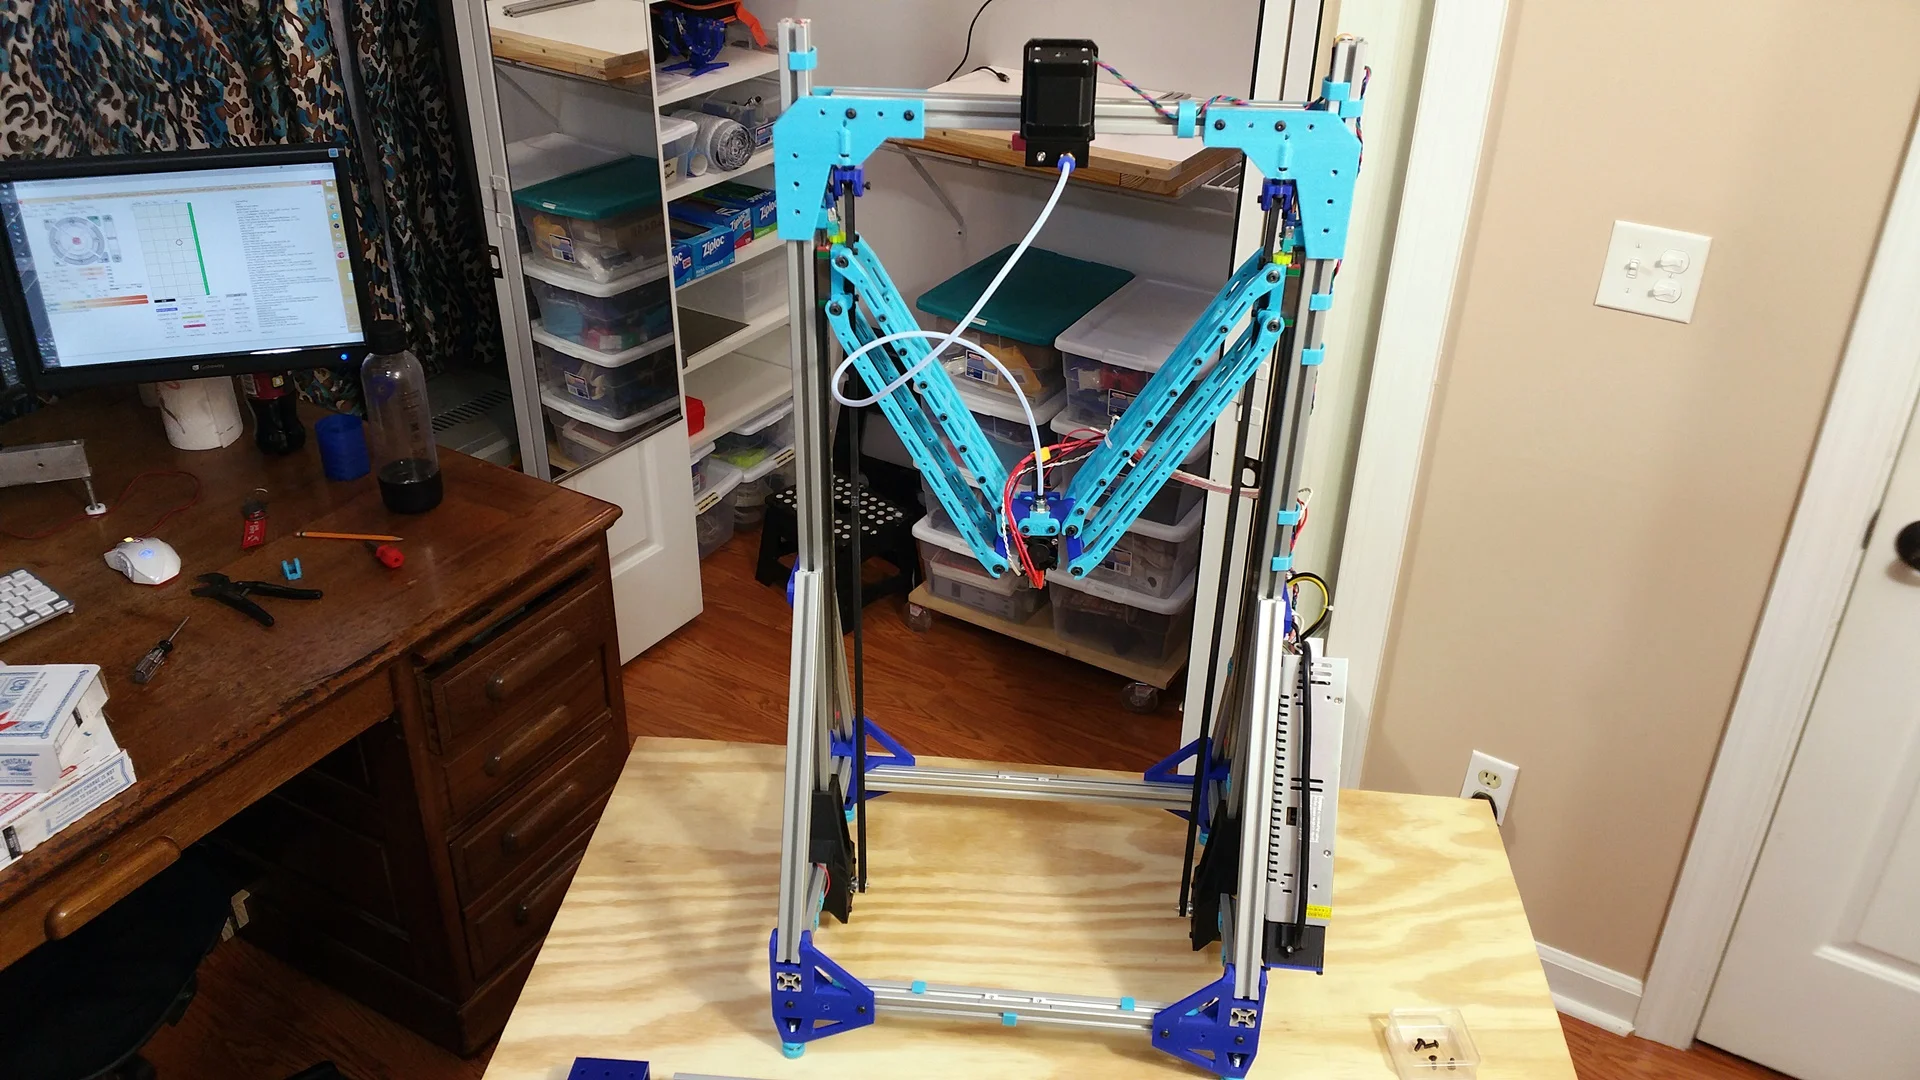
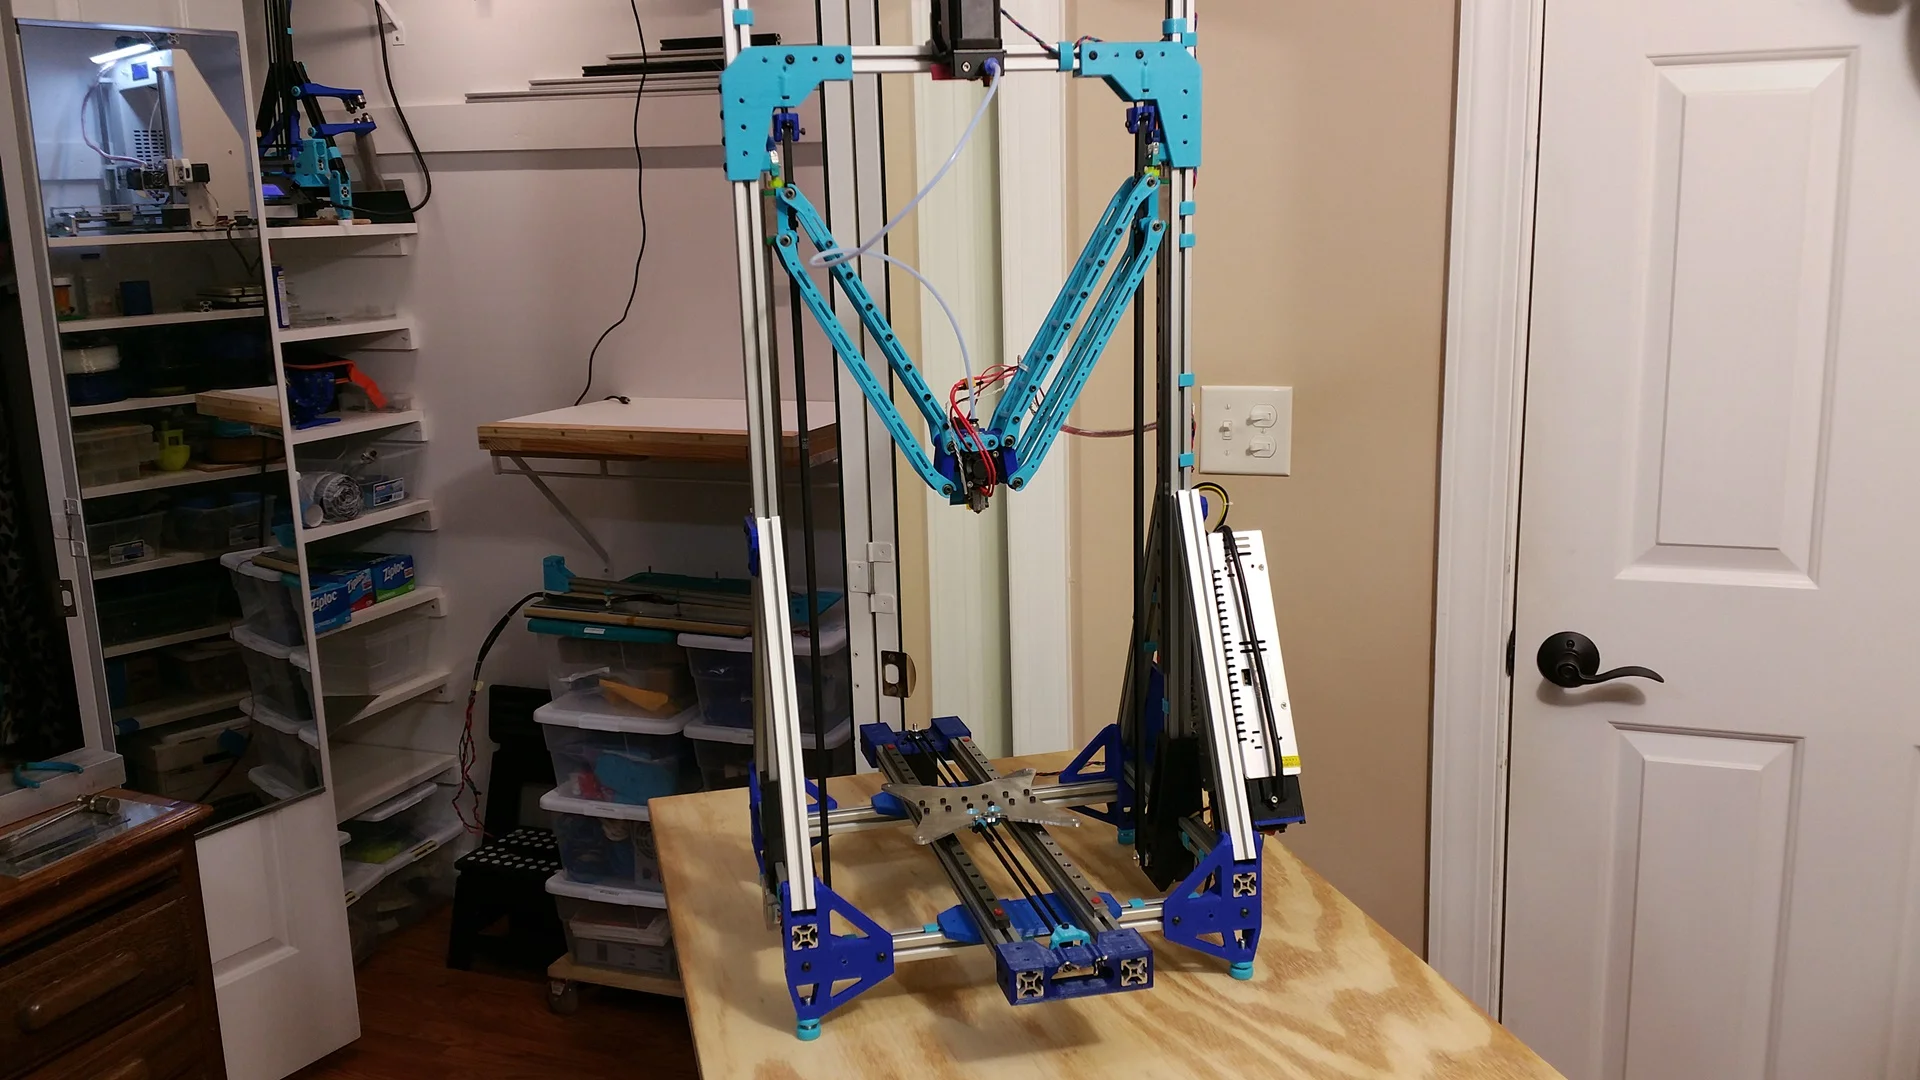
Now ready to add a limit switch and swap this bed onto a functioning machine.

-bornity

Dual Rail - Center Mounted Stepper - Prototype 1 Assembly test

The prototype CAD models are finished. Printed up all these test parts w/ Deltesian #001. Time to assemble and test motion of the belt system.

2019-01-27 17.03.23.jpg
2019-01-27 18.18.51.jpg

It’s hard to tell from the gif, but the Belt Clamp (Retainer) Bracket hits the Stepper drive pulley.

The Timing Belt needs to be lowered, to give the Belt Clamp Bracket more clearance. Time to modify/redesign the front/back brackets and the Center Stepper Mount Bracket.

-bornity

Dual Rail - Center Mounter Stepper - cad prototyping

New year! The designs have finally started flowing again, \o/.

I’ve been imagining a single bed, double rail design for a months. This weekend I modeled and designed a prototype configuration.

DR-CMS-R1.png

I was able to reuse the Front Bracket from the Double Bed Double Rail design, with minor tweaks. For the Center Stepper Mounting Bracket, I took the Rear Stepper Mount Bracket from the Double Bed Double Rail and notched out 2 sides allowing the Linear Rail to fit, allowing clearance for the Linear Rail Carriages.

I wanted to a dual linear rail design, with a center mounted stepper. Moving the stepper from the end of the Y-Axis to the middle reduces the length but requires a nifty belt run. With the Stepper Pulley in the center, I used the existing hardpoints from the steppers to dictate the position of the the Two Idlers. I’m not sure the M3 screws are going to resist the fully tensioned belt, but that’s what testing is for.

DR-CMS-R2.png

A double idler pulley bracket was needed. Modifying one of my existing Pulley Tensioner Brackets, I created a bracket which supported two idlers spread 31mm apart to match the hole pattern of the Stepper.

DR-CMS-COMP-R1.png

Compared with the Double Rail Double Bed and Deltesian 1.1.x Bed, this new design is much more compact.

DR-CMS-COMP-R2.png

Surprisingly, this new design has the same 300mm rails and travel as the Deltesian 1.1.x Bed on the right.

D001-DR-CMS-COMP-ABOVE.png

Visualizing the design in a Deltesian 1.1.x XZ frame compared to the standard bed.

Visualizing the design in a Deltesian 1.1.x XZ frame compared to the standard bed a Y-min.

D001-DR-CMS-COMP-TOP.png

The view from above really drives home the change in footprint.

I’m very please with the overall look and size reduction. I’m not sure how the belt run will work in reality. With 6 idles now vs. 1 before, this belt run is much more complex and I’m expecting problems. Also the clearance are very tight. Most likely too tight, but I’ll see once everything is printed and assembled.

Until then!

-bornity

Mounting the GEN2 - Double Bed - Limit Switch Mounts?

Making Progress on the GEN2 - Y-Axis Bed assembly!

Parts are now uploaded to Github if you're interested: https://git.io/fNYVz
(I apologize if the link changes but that's how things go with developing parts.)

Mounting Brackets from Y to X Extrusions.

Mounting Brackets from Y to X Extrusions.

Installed on XZ-Frame

Installed on XZ-Frame

Tensioning Bracket up Front

Tensioning Bracket up Front

Rear Stepper Mount Bracket with mockup of possible Limit Switch locations (held on with VHB)

Rear Stepper Mount Bracket with mockup of possible Limit Switch locations (held on with VHB)

The clearance here is very tight between the 7075 Aluminum Carriage Plate and the Anti-Runoff Screws.Somehow have to tuck the limit switches in here. 

The clearance here is very tight between the 7075 Aluminum Carriage Plate and the Anti-Runoff Screws.
Somehow have to tuck the limit switches in here. 

I've found video best conveys interaction like these. Not much room to fit in the limit switches


Cross-section view of the end of the GEN2 - Y-Axis, with the Rear Stepper Bracket Transparent

Cross-section view of the end of the GEN2 - Y-Axis, with the Rear Stepper Bracket Transparent


Testing some ideas, with help form the Discord. Shout out to _Unregistered for the brainstorming.

Horizontal Mounting:

00a425cc05bd49197f1fd6e25a648dc2.png

Vertical Mount Mounting:

4c926e06a9ede0d0a51de17169643557.png

Keep in mind a lot of this is off the cuff, seeing what looks right and getting an idea for the fit. 
I'd prefer the mount is integrated in the Rear Stepper Bracket. 
See what I can some up with. 

Deltesian Double Bed, Double Rail - Testing the Gen 2 Conversion

The plan: Convert the Y-Axis from 3 extrusion to 2 and move the timing belt from above to below the Carriage Plate.

The plan: Convert the Y-Axis from 3 extrusion to 2 and move the timing belt from above to below the Carriage Plate.

A Final Look at the 3 Extrusion Double Bed

A Final Look at the 3 Extrusion Double Bed

Visualizing the New Extrusions and Brackets compared to the existing Y-Axis

Visualizing the New Extrusions and Brackets compared to the existing Y-Axis

Move Mock up visualization of the New Extrusions and Bracketry for the Y-Axis

Move Mock up visualization of the New Extrusions and Bracketry for the Y-Axis

Removing the Rear Mounting Screws for the Bed

Removing the Rear Mounting Screws for the Bed

Removing the Front Mounting Screws for the Bed

Removing the Front Mounting Screws for the Bed

Double Bed removed from the XZ Frame.

Double Bed removed from the XZ Frame.

XZ Frame w/o the Y-Axis

XZ Frame w/o the Y-Axis

3 Extrusion Double Bed

3 Extrusion Double Bed

Bottom of the 3 Extrusion Double Bed

Bottom of the 3 Extrusion Double Bed

Top of the Assembled Y-Axis 

Top of the Assembled Y-Axis 

Bottom of the Y-Axis.The belt runs underneath the Carriage Plate

Bottom of the Y-Axis.
The belt runs underneath the Carriage Plate

Test fitting to the XZ Frame

Test fitting to the XZ Frame

Full Frame Shot of the Test Fit.That's if for the night! Bed install and printing tomorrow!

Full Frame Shot of the Test Fit.


That's if for the night! Bed install and printing tomorrow!