
Improving Surface Quality of 3D Printed Parts with A Steel Plate
If you have a kit-built 3D Printer, like me, you can spend a lot of time "chasing the dragon" of better quality prints. If your printer is belt driven, you've most likely experienced ringing and vibration on the surfaces of your prints.
Things I've found to have reduced my ringing issues:
- Tighten Belts: tighten to prevent "rubber-banding" of the carriages.
- Print Acceleration: reduce print Acceleration for Outer Walls.
- Tighten Frame Parts: Check all connections for loose hardware.
- Mount my Printer to a 1/2"thk 28lb Steel Plate.
Yes, you read that right. I mounted my printer to a 1/2"thk 12"x 15-1/2" Steel Plate. Now you may not have a steel plate lying around, but weights stacked on a plywood board under your printer, could easily serve the same function. Ultimately, you're trying to reduce the vibration between the printer and desk/table it sits on.
Check out photos and details below!
1/2"thk 28lb Steel Plate

My printer is mounted to 80/20 using 4941 VHB Tape and then mounted to 3/16" Aluminum angles VHB'd to the Steel Plate.
If I need to remove the printer, I can remove the 1/4-20 screws and lift it free.
Macro Comparison Photos

Few more macro shots of a print I did before and after adding the Steel Plate. Both prints used the exact same GCODE file of a 1"x1"x1" part with 0.2mm Layers. The only change was the addition of the plate.

The improvement in quality is most evident in the face. The surface deviations appear to be reduced by half.

This cube is 1" tall. If you're looking at this on a phone, it's likely 1.5X larger, on a desktop 3-4x larger. I'm still getting rubber-banding in the corners, as seen on the left side, so I probably need to tighten the belts a bit more.

I received a few comments from people confused, because the "after" quality still looked bad. I realized the scale wasn't helping, so here's a shot further away of the "after" part.

I'm intentionally pushing my printer hard to help find these issues. If I printed slower, thinner layers it would reduce the vibrations. Here's the same part printed at the same speed with 0.1mm layers. I could stick to that, but it's just so much more interesting to push the limit and make things faster, tighter, better.
Process Photos
2 hours in 20 seconds. Cleaning up the steel plate condensed. My sander is hooked up to a cyclone to keep down the airborne dust. I used 40grit & 80grit sanding disks. Halfway through, I added a 3lb diving weight to give my arm a rest.
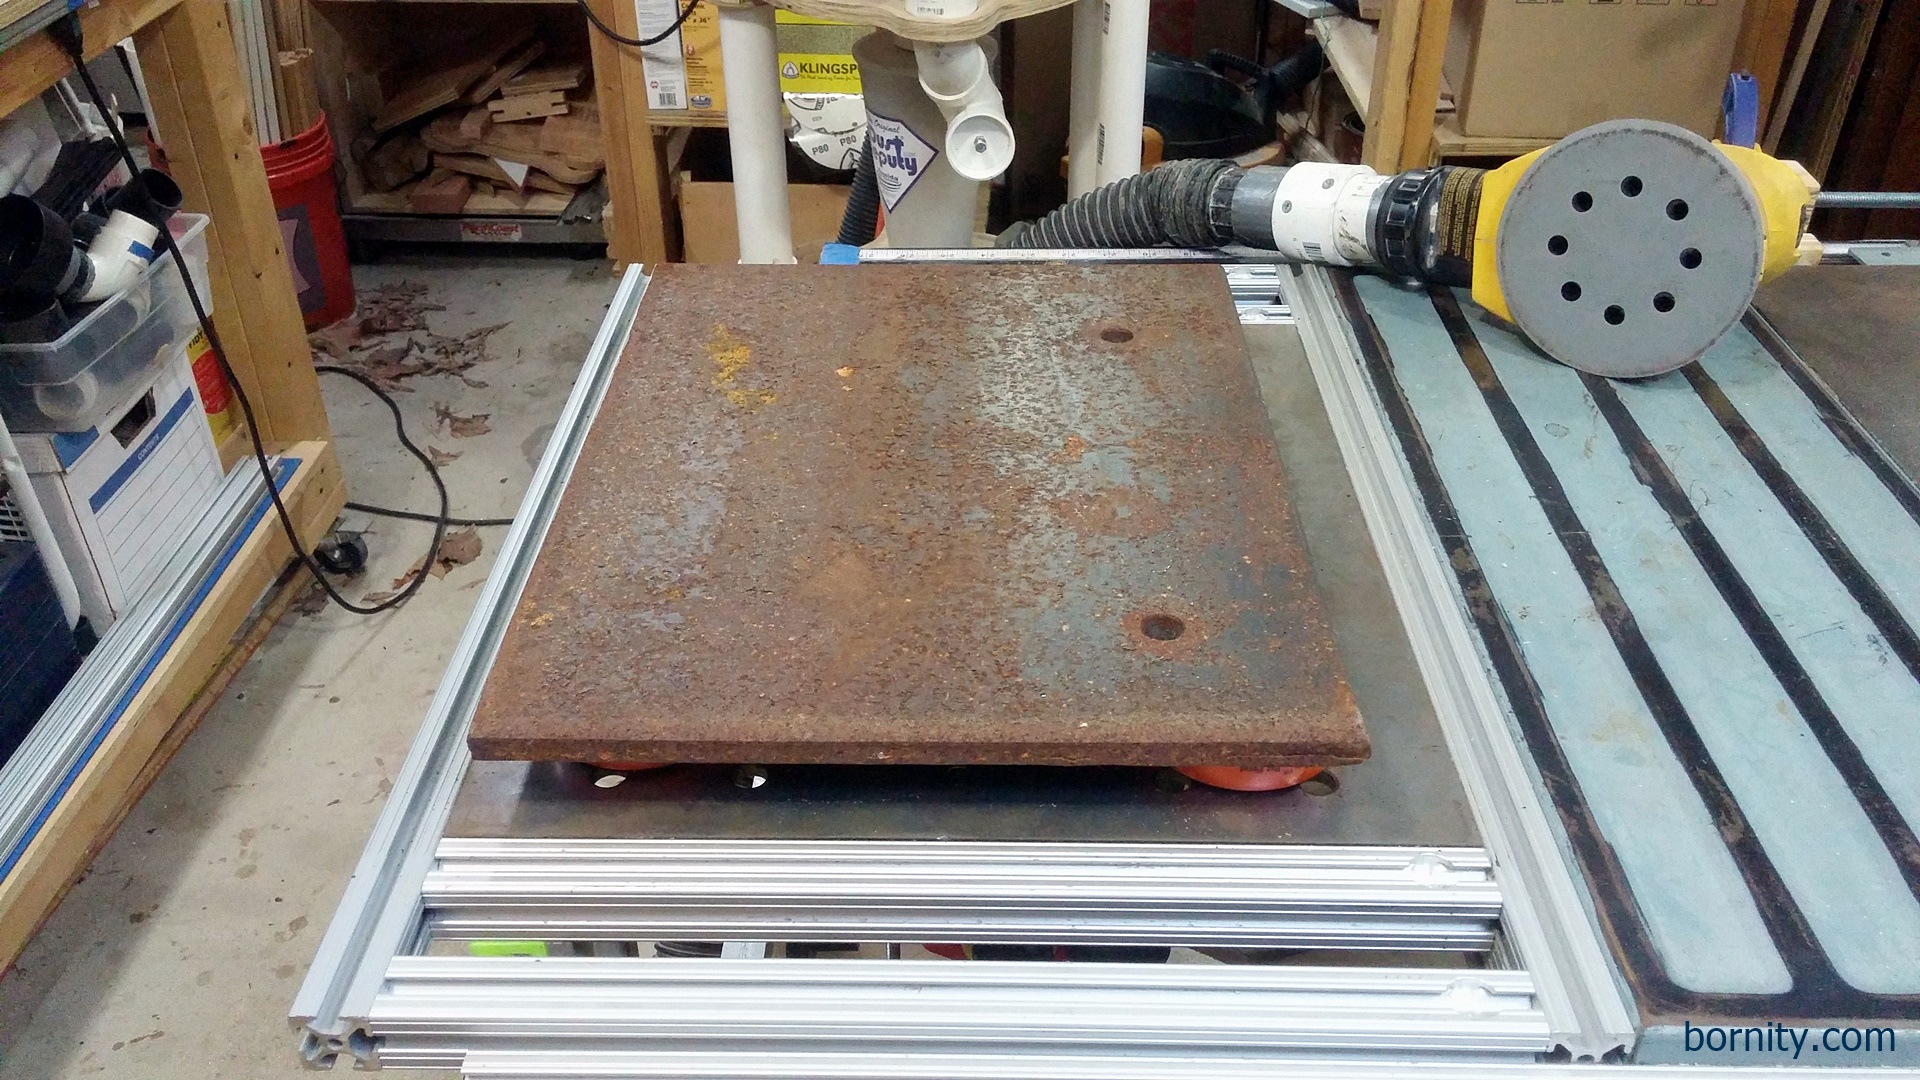
Raw Steel Plate. Don't remember where I picked it up, must have been from a past job.

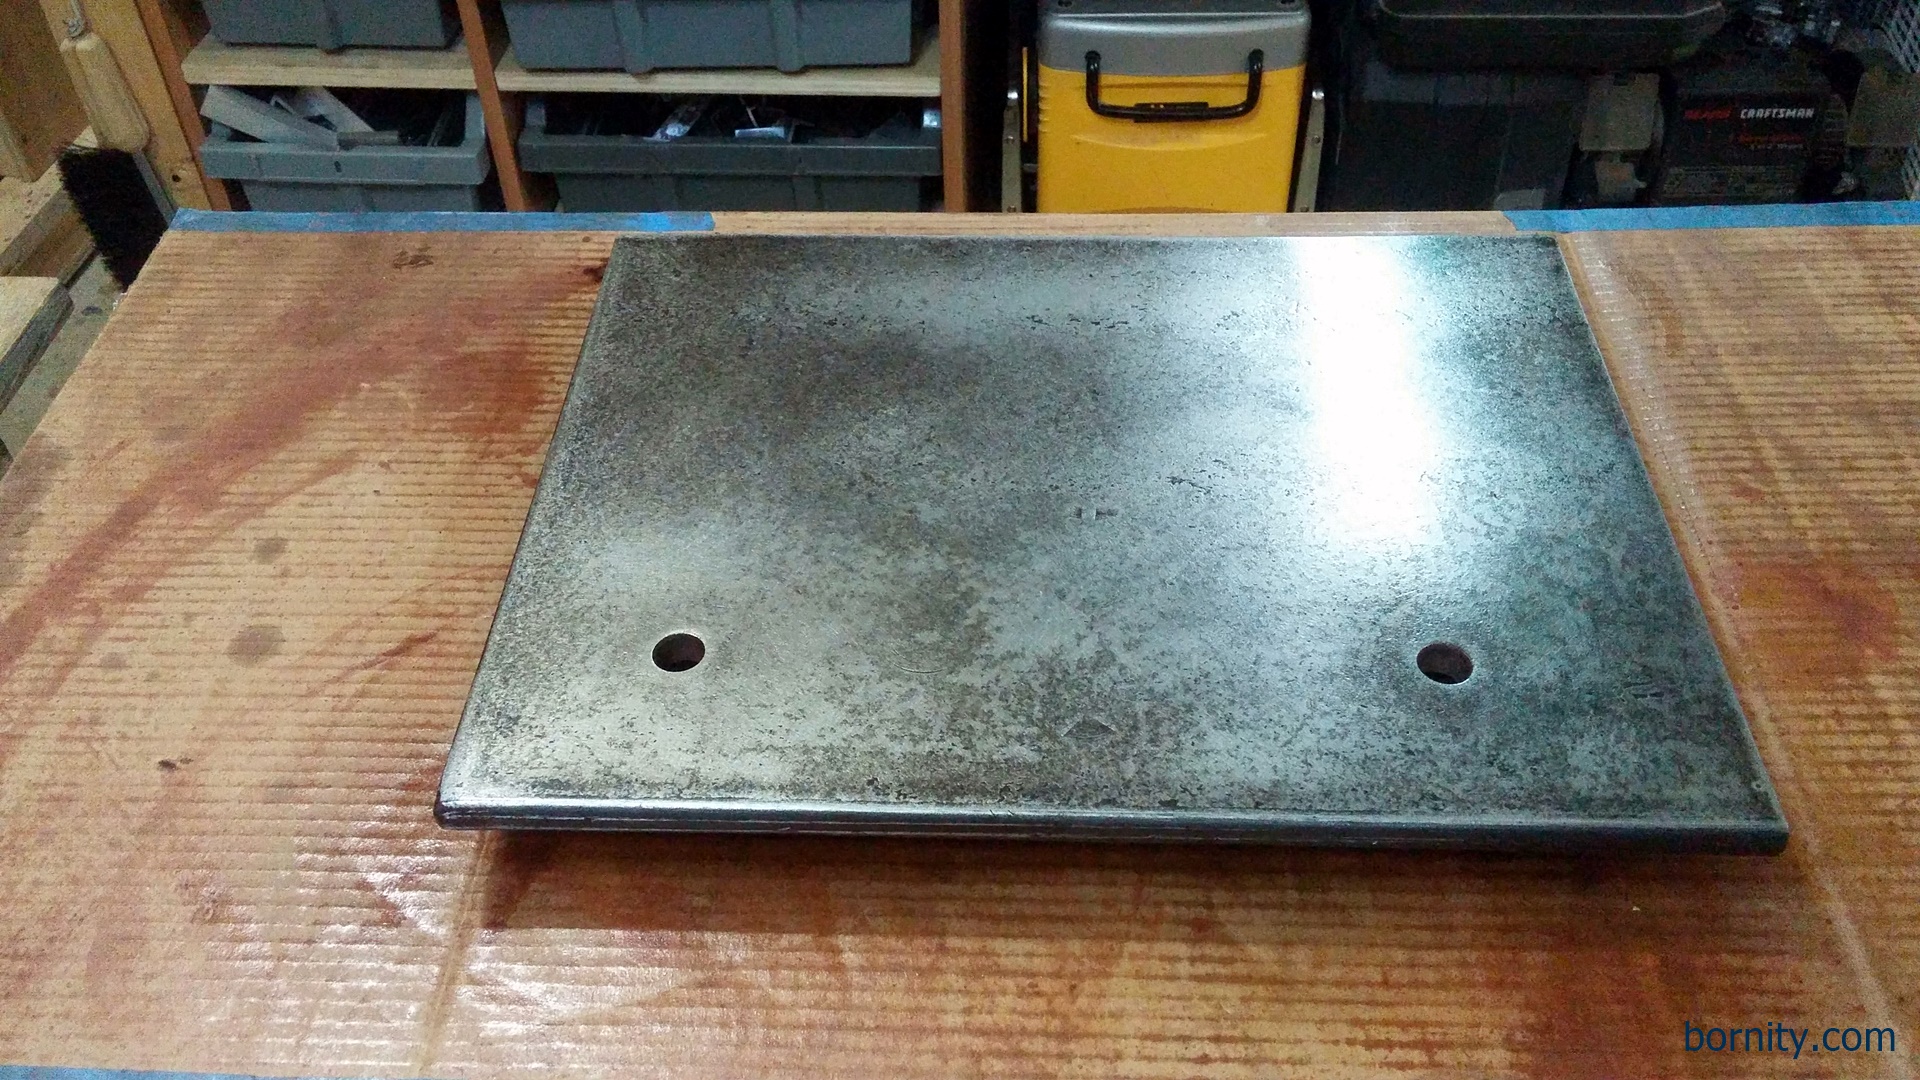
Post sanding with 40grit & 80 grit sandpaper.

Back of the Plate.

Back of the plate post sanding. I opted not to go as far as with the front.

Cleaned plate next to a matching rusted plate.

Into the bench vise to clean up the edges.
Polyurethane coated top.

Poly coat on the back.

Poly in a can. What I had on hand.
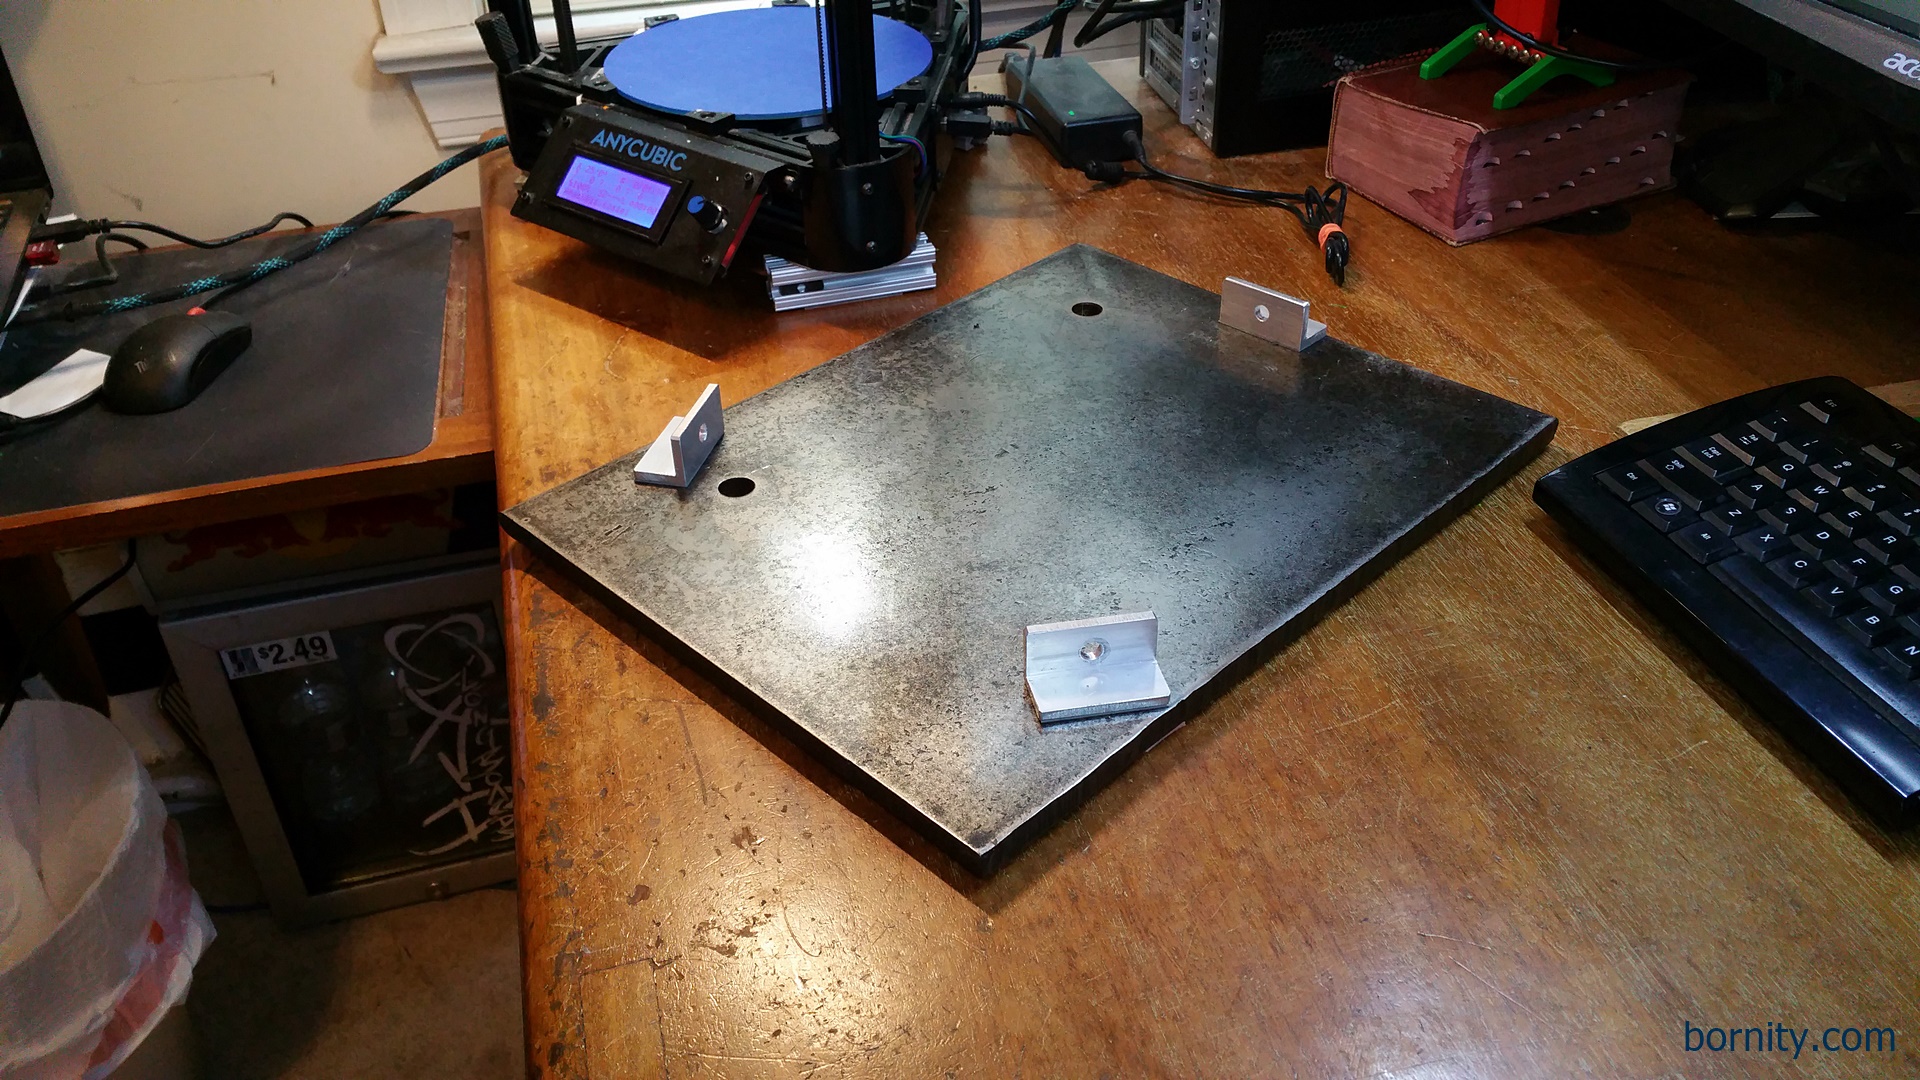
3/16" Aluminum angles mounted to the plate with 4941 VHB tape. This stuff is awesome. It will hold something like approx 80lb/sqin in tension.

1" sq. rubber gasket feet mounted with 4941 VHB. An 1/8" Skateboard Riser would also work here.

Printer mounted with 1/4-20 - 1/2" bolts.

Bonus Cat!
Starsky visits the garage to be cute and get in the way.


