3D Printed Key Repair
The key ring hole broke on both my car key and fob. The plastic wore through and finally cracked. I considered drilling a hole through the key but I couldn't definitively determine the transponder chip's location. Instead, I decided to model and print new tops with the key ring hole for both. I sanded off the top of the key and fob on a bench mounted belt sander. Then, I epoxied the printed part using 5min Epoxy. I was concerned about the epoxy bond but it's still holding strong after 2 months of use.
This project affirmed for me the efficacy of using 5min epoxy to bond 3D printed parts to plastic.
Check out the build process photos and cad modeling screenshots below.
Repaired Key and Fob
I'm very happy with the finished look. I especially like how the key top curves flow into the key body.
Original Key and Fob
Artist rendering of the broken key and fob. Unfortunately, the before photos I took were horribly out of focus. The whole crossbar on the key broke off and the fob had a crack in the key ring.
Build Process Photos
Sanded key and printed top.
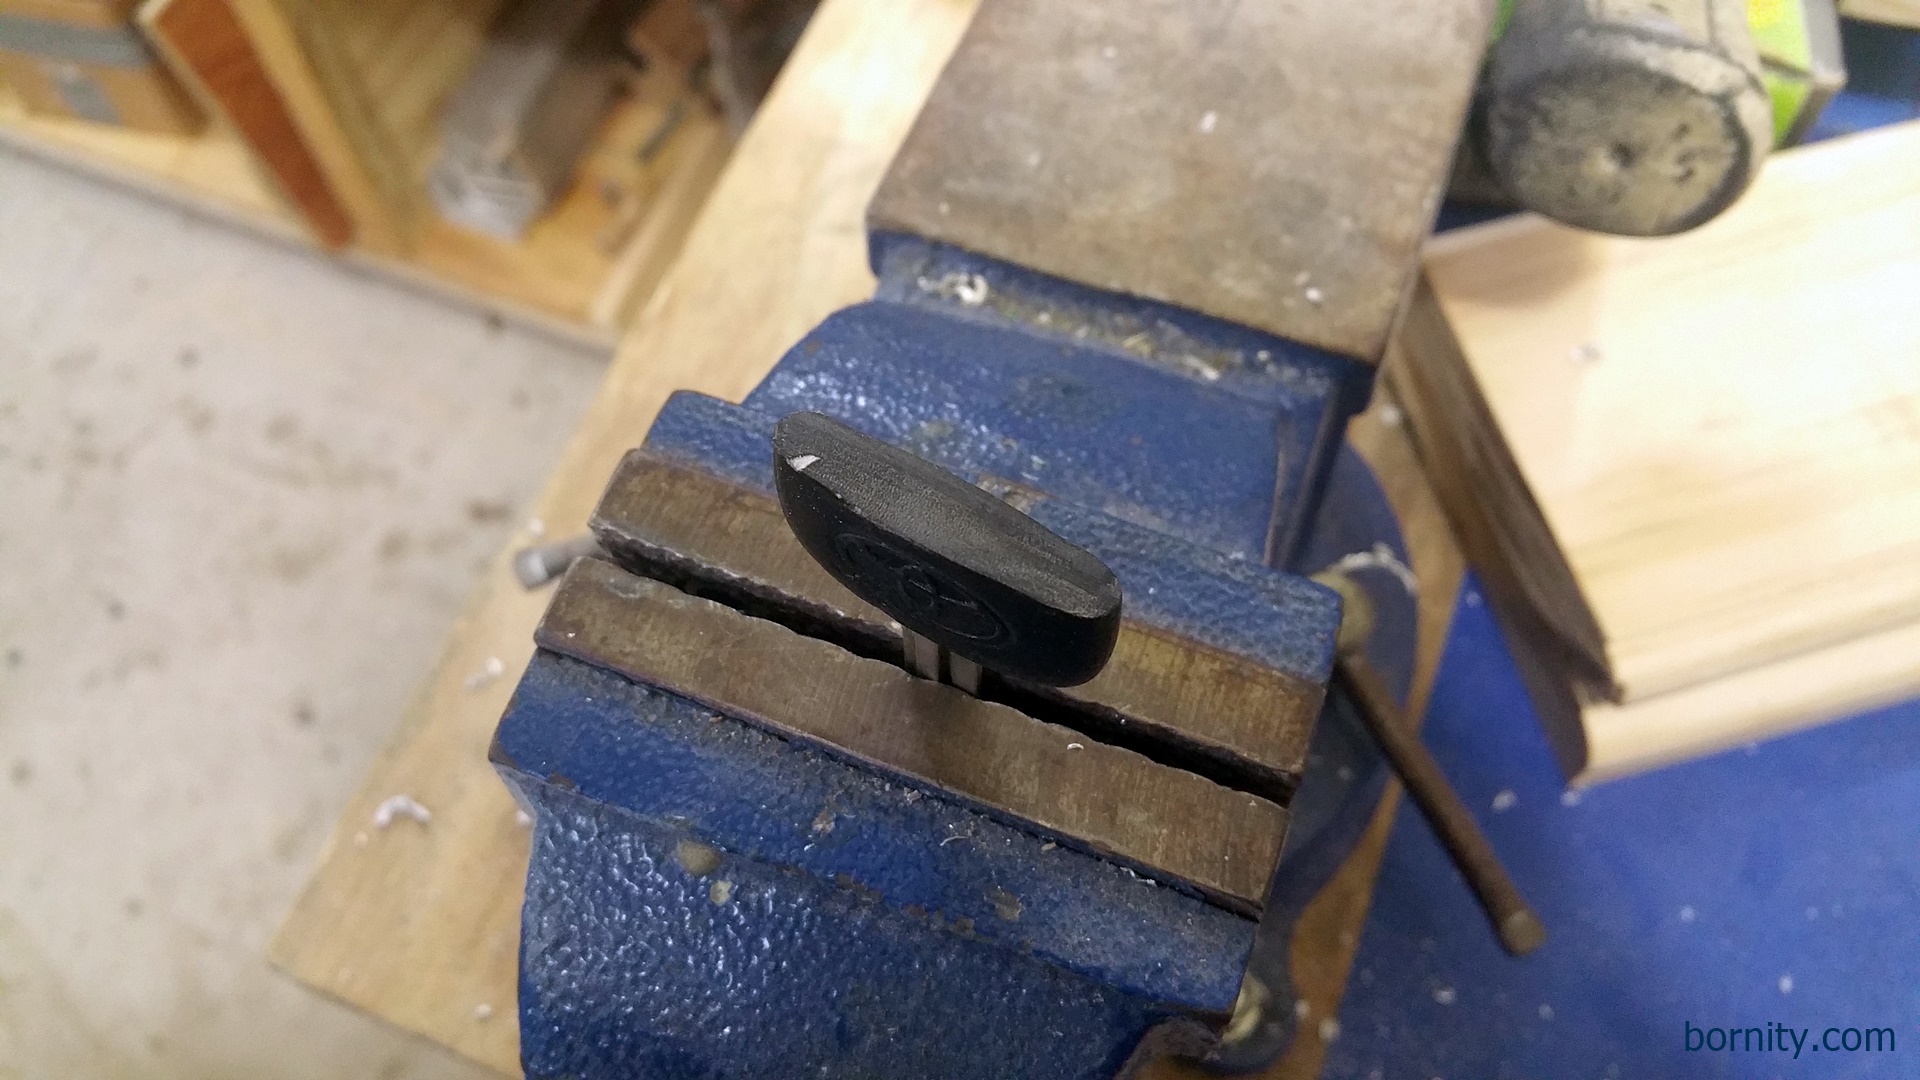
Key clamped in benchtop vise.
Applied epoxy to key.
Printed top placed and centered. The top floats a little on the epoxy. As the epoxy started to tack up, I made subtle adjustments to keep the key and top aligned.
Sanded fob and printed top.
Epoxy applied to fob.
Printed top added. A little heavy on the epoxy, but that can be trimmed later.
Rear view of the epoxied top.
Fob post clean up. I used a razor blade to remove excess epoxy and a file to smooth the transfer. A black sharpie used to color the white epoxy line.
Key post clean up. Here I used the black sharpie to color the epoxy line and filed parts of the plastic.
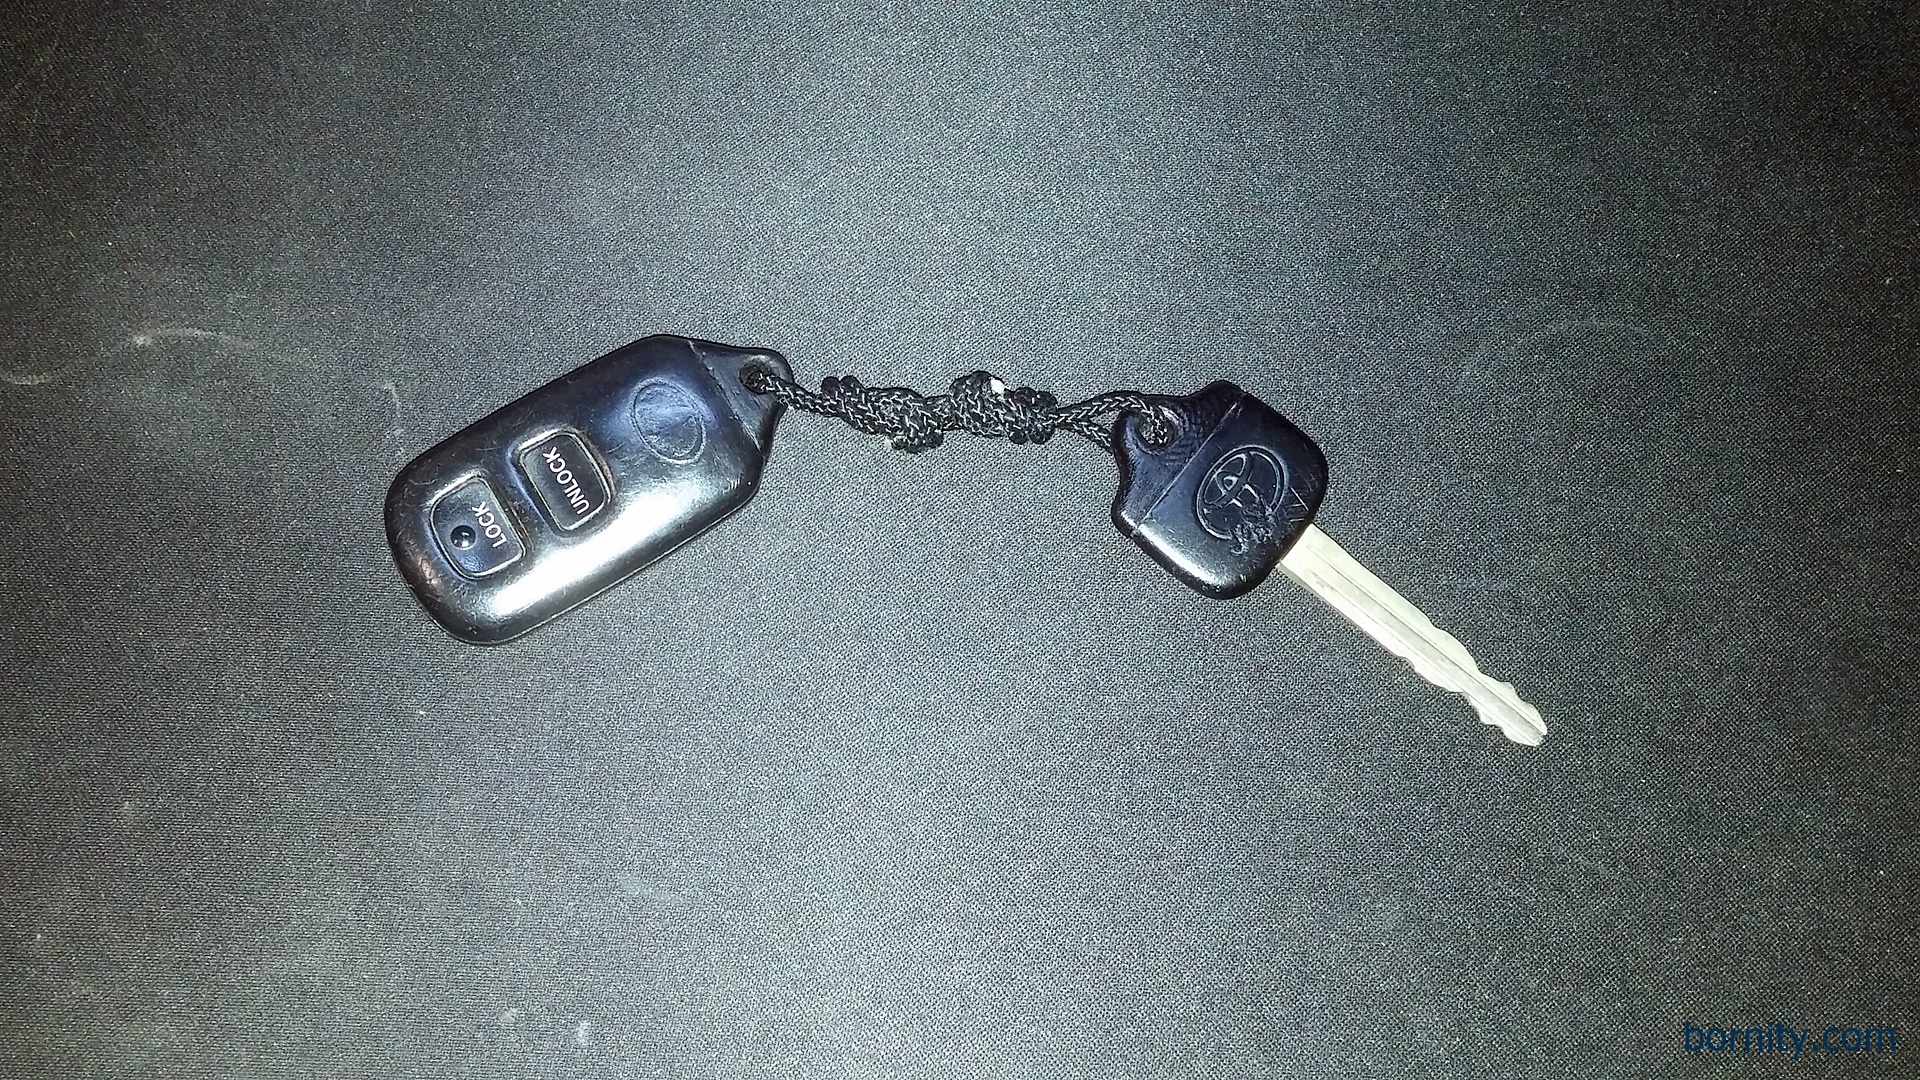
Key plus fob on a ring.
I didn't like the feel of the ring. A couple inches of Lacrosse Sidewall string gives it a little more flexibility.
Finished key and fob!
cad modeling & Slicing
Screenshot of the modeling in Inventor. A couple sketches extruded and then filleted make the shape.
Rendering of the key top.
Slicing the key top in Cura. I used 0.1mm layers.
Screenshot of the modeling in Inventor. A couple sketches extruded and then filleted make the shape.
Rendering of the fob top.
Slicing the fob top in Cura. I used 0.1mm layers.
Bonus Cats!
Starsky and Apollo hunt for a cricket in the garage.
Thanks for stopping by!


